• The Mombot
  • Gift Guides
  • My Story
  • Food & Drink
  • Life
  • Home
  • DIY
  • Mama Style
  • Shop

The Mombot

Motherhood Simplified.

DIY Outdoor Boot Rack

April 6, 2016 | 1 Comment

I hate mud. I hate wood floors and mud. I hate kids and mud. I’m type-A, after all, and messes freak me out.

When we moved to Colorado from California, I realized I had a new battle to deal with: winter boots covered in snow and mud that just wouldn’t quit – oh, and 3 young kids who don’t share my affinity for cleanliness.

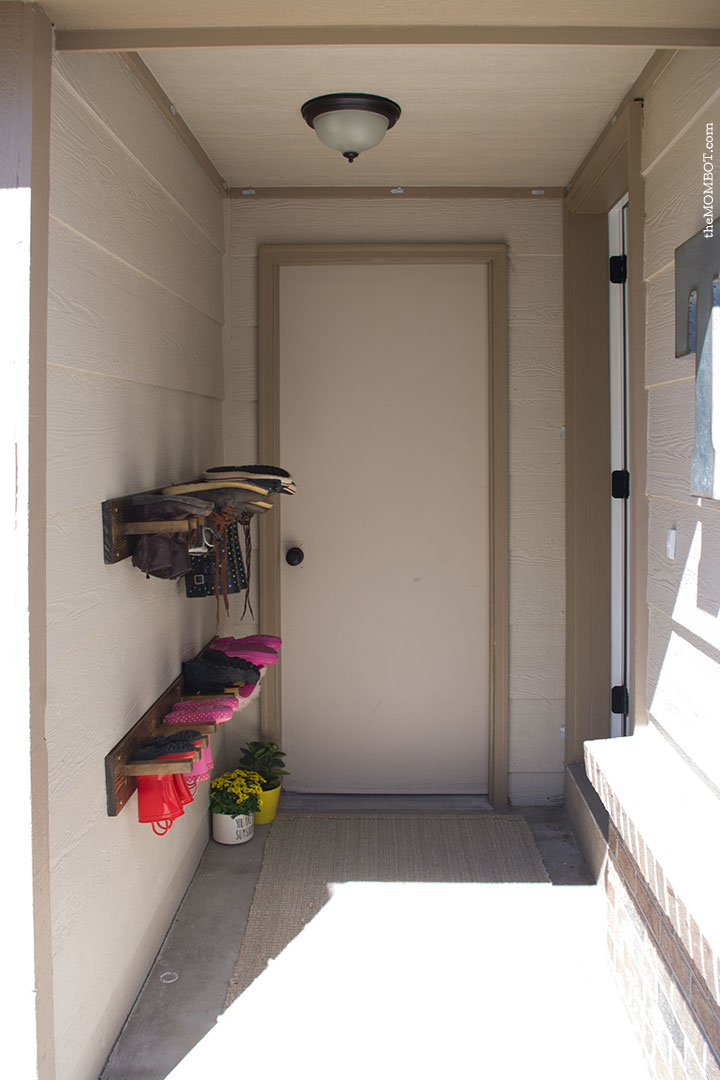
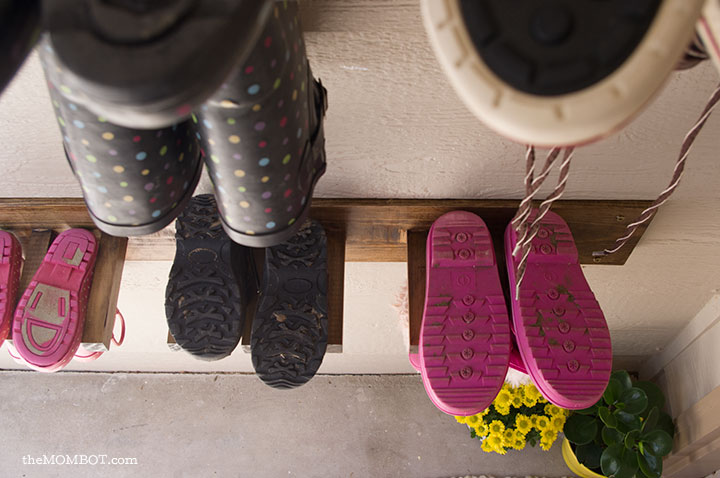
At our current house, we have a really odd front door that is tucked behind our garage and it creates a little bit of an outdoor mudroom (and pardon the hideously neutral paint job, we really need an update!). Ideally, I would love to move the front door to be in the entry of this mudroom and enclose the space, but that’s pretty far down the line. In the meantime, I knew we could still use this area to store our gross winter boots and spring rainboots as long as we did it right; which meant getting them up off the ground where things can crawl inside and where snow can cover them (it still blows in this space from time to time since it’s open).

boot-rack-outside5

I began researching boot racks after seeing some on Pinterest, but it turns out the ones I had pinned had mysteriously disappeared from cyberspace or were sold out, and those that I could find were ridiculously overpriced. So, as usual, I set out to make my own.

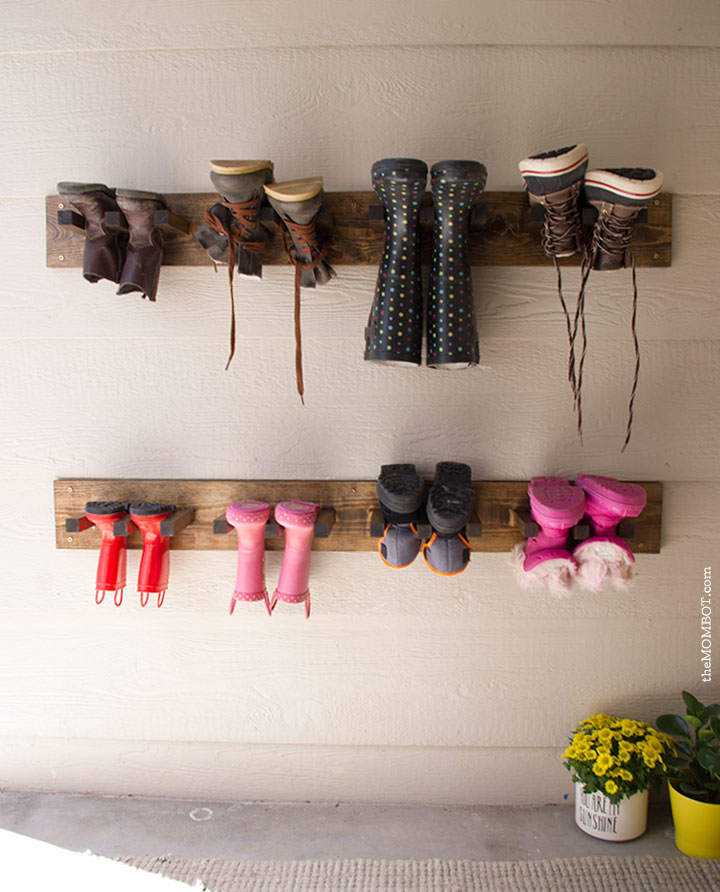
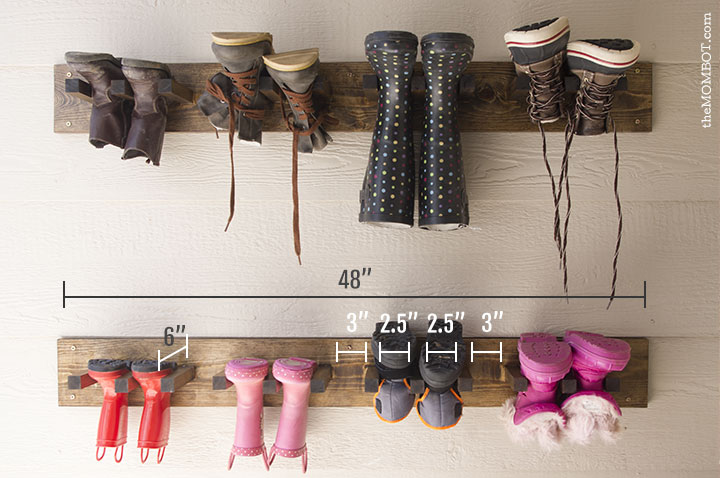
The Mr. and I came up with a little plan for our boot racks with measurements that would work for the number of boots we anticipated having for our family of 5. We created 2 racks made from 1x6s and 1x1s (for the pegs) that each hold 4 pairs of boots. In addition to boots, I figure we can also hang umbrellas or raincoats from them in the spring, or even wet bathing suits and towels in the summer after sprinkler play.

These outdoor boot racks nicely complement our indoor custom-made mudroom bench – which is where I prefer to house all the dry shoes that aren’t caked with mud…

boot-rack-outside1

boot-rack-outside4

boot-rack-outside-closeup2

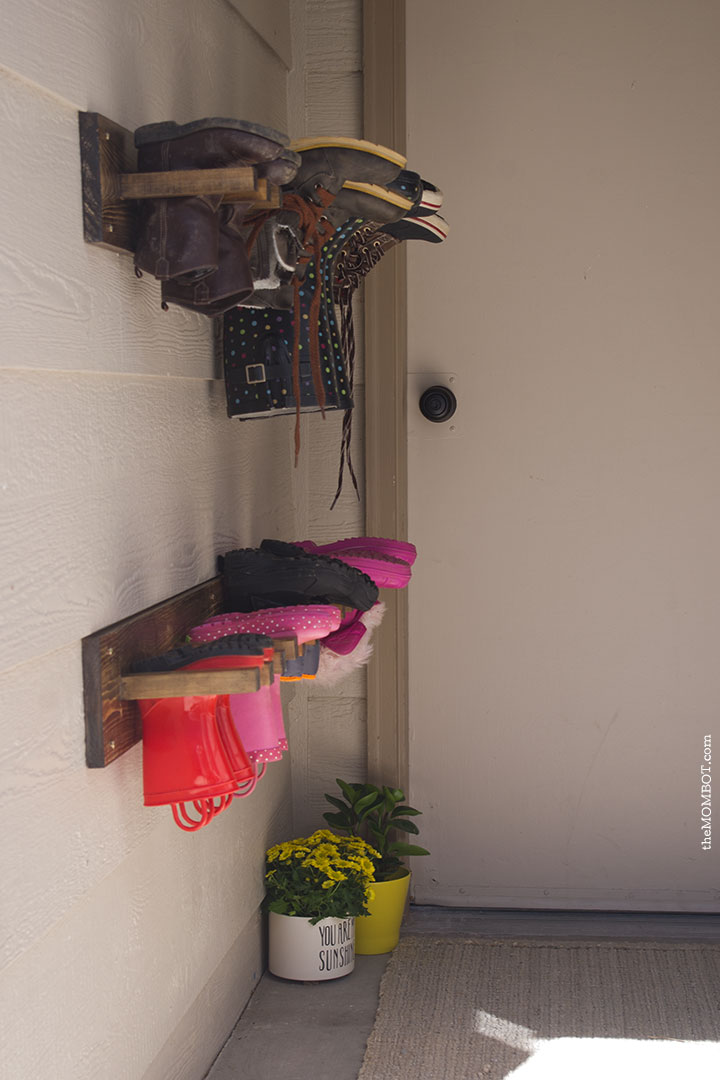
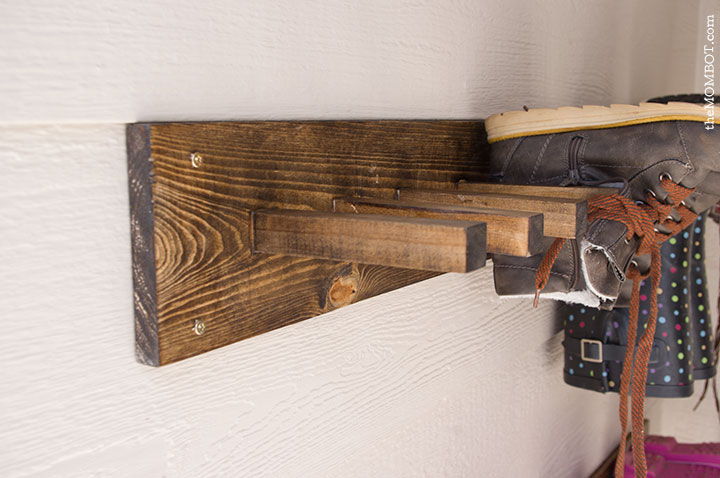
Anyhoo, once we had the racks put together, I stained them and put on a few coats of polyurethane to protect them from the wetness they will likely endure. Then we just screwed them into the wall. Thanks to the siding, we didn’t even have to use a level, we just rested them under the siding lip (hooray for ease).

If you’re interested in measurements, here are the specifics:

  • 2 1x6s cut to 48”
  • 24 pegs made from 1x1s cut to 6” in length
  • The 3 pegs that hold a pair of boots have 2.5” between each peg, and there are 3” between each set of 3.
  • We attached each jpeg with 2.5” wood screws.

boot-rack-specs

To assemble them:

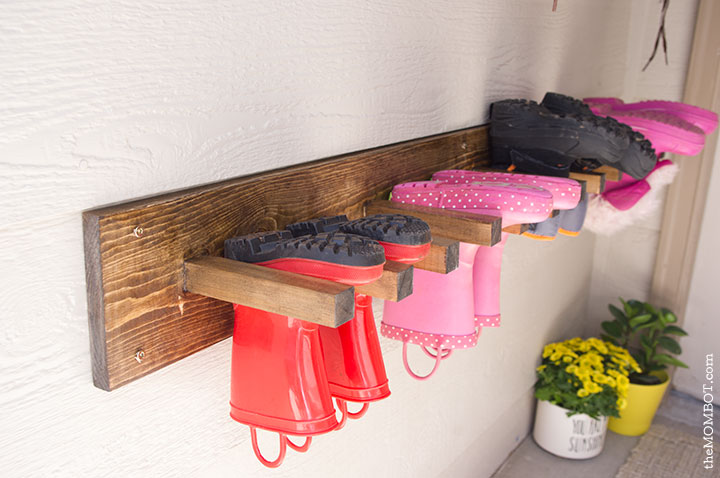
  • We marked where we wanted the pegs on the back side of the 1x6s and then drilled holes at our marks. We also drilled holes into the center of each peg (we just eyeballed it).
  • Then we put wood glue on the end of the peg (the end with the drilled hole), put a screw through the 1×6, lined it up with the holes in the peg and screwed each peg on tightly (making sure to straighten it out before the glue dried, since they tended to twist while tightening).
  • Once they were all attached, I let the glue dry, then sanded and stained each rack and applied 3 coats of polyurethane (allowing for appropriate drying times in between each one).

boot-rack-outside-closeup

boot-rack-outside2

That was it! They aren’t the prettiest because I used items I had on hand, like sand paper that wasn’t a fine enough grit and left some pretty awesome scratch marks. Ah, well.

A pretty easy project with a very practical outcome.

I love that the kids can leave their gross boots outside and my floors can stay cleaner longer; especially now that we are dealing with 3 kids with cabin fever from being stuck inside all winter who are begging to play in our muddy backyard every.single.day – yuck.

Related posts:

  1. Front Door Fix: Fresh Paint
  2. Backyard Patio Makeover
  3. Modern Farmhouse Bathroom
  4. Sprucing up the outdoors for spring and summer

Filed Under: crafting, home Tagged With: DIY, home, home tour, summer

  • Email
  • Facebook
  • Instagram
  • Pinterest
  • RSS
  • Twitter

HI! I'M AMY.

I'M A BLOGGER, GRAPHIC DESIGNER, MOM, COFFEE ADDICT, DIYER, CHRONIC MULTITASKER AND STRESSCASE, A COOK AND A LOVER OF A GOOD GLASS OF WINE.
LEARN MORE ABOUT ME

Shop My Paper Line:

Favorites:

Instagram:

I get it. It's a little weird. But the girls I've I get it. It's a little weird.
But the girls I've seen do it best, look adorable.

I think it looks best with an oversized tee or sweatshirt, tennies or slides, and a small crossbody bag.

You can't argue with comfort.

For the record, these are women's sleep shorts that I've had a couple of years from Old Navy. If you buy actual men's boxers, you might consider sewing up the pee pocket 😜

Don't spend a lot on this trend; these shorts are made from the thinnest of fabric and shouldn't cost much. Don't be fooled by a retailer that wants you to spend just because it's trendy.

But if you see some cute boxers and want to give it a go - then do! Bonus - if/when the trend ends, you'll have pajamas on the ready 👏

It's solid weekend wear, but I'm not going out to dinner in it...

#boxershortsforgirls #boxershort #ootd #womensfashion #styleinspiration
Another project down in my son's room! I knew I w Another project down in my son's room!

I knew I wanted some sort of built-in feature in this bedroom, but it was hard to figure out what, because we turned it into an active space where he could run and play and needed a lot of room.

So I settled on a built-in bookcase with the slatted design feature, which I'm in love with!

The best part about it is that if he ever decides to upgrade his bed, the space will also accommodate a full or queen size bed going in the opposite direction. It adds so much interest to this room and hopefully will be here for a long time!

One of the things I love most about DIY projects is figuring out how to make something - it's like a giant puzzle. I saw photos of these slotted wall room dividers on Pinterest and just figured it out as I went. All in all, I had very few hiccups and it only took me a few hours to put together. I think I only cursed once?!? And so I call that an extreme DIY win...

Now that the sports wall, the climbing wall, and the built-in feature are complete, the last thing to do in here is some additional painting. I'm thinking of using a contrasting blue color for the closet doors and back side of the built-in, and perhaps trimming out the window with it as well. Then I need to switch out the light for a fan and this.room.is done 🙌

Details: I used two IKEA billy bookshelves, screwed together and secured to the wall. Then wrapped them in white oak plywood. I ripped down 2x4s into 1.5x1.5" square dowels (heavily sanded!) and used pocket holes on the back side of each to secure to the bookshelf and the 1x4 in the ceiling. It's very sturdy!

Go back in my reels to see the other projects from this room! 

#diy #boysroom #roomrenovation #roomrefresh #kidsrooms #climbingwall #soccerbedroom #builtins #bedroomredo #girlswhobuild
This climbing wall took half a day and cost under This climbing wall took half a day and cost under $100!

We are lucky enough to have 13' ceilings in our bedrooms, so a climbing wall seemed to make sense in my son's room as we worked on the remodel.

He is a super active kid with #ADHD, so his room redo has involved lots of activity spaces! Go back in my reels to see past projects and follow to see me finish this up!

#diy #roomrenovation #roomrefresh #kidsrooms #climbingwall #soccerbedroom
Another to-do checked off my list for spring break Another to-do checked off my list for spring break room makeover!

I added very subtle striping to the wall to mimic a soccer field and keep things classy. ⚽

Stick around to see the next project - a climbing wall!

(And go back in my reels to see the sports wall)

#roommakeover #soccer #kidsroom

Popular Posts:

Ikea Hack: DIY Mudroom Benches
Felt Food Patterns (Link Love)
Babyproofing the stair railings with plexiglass
DIY Outdoor Boot Rack

Recent Posts

  • Functional and Stylish Small Entryway Ideas for a Welcoming Space
  • Pendant & Accent Lights Under $100
  • DIY Stenciled Concrete Floors: Laundry Room Update Part 1
  • First Day and Last Day of School Questionnaire (free printables)
  • How to Create Canvas Wall Art from Digital Photos

>> ABOUT ME
>> DISCLOSURE STATEMENT
>> CONTACT ME

Copyright © 2025 themombot.com
Terms of Service // Privacy Policy