• The Mombot
  • Gift Guides
  • My Story
  • Food & Drink
  • Life
  • Home
  • DIY
  • Mama Style
  • Shop

The Mombot

Motherhood Simplified.

Little Mermaid Birthday Party

January 23, 2015 | 1 Comment

Little Mermaid Birthday Party | TheMombot.com

I both love and hate birthday parties.

I have fun planning them and setting them up, but I also stress myself out and always try to accomplish way too many projects. I think I fared slightly better this year; I only party prepped until about 9 p.m. the night before and had plenty of time to set stuff out the next morning before the party began. Granted, I worked on setting up and baking goodies for the party all day on Friday, but that’s beside the point.

I had so much fun with this party because there were so many great ideas on Pinterest and because I’m a big Little Mermaid fan (who doesn’t love herself a little Ariel?). When my daughter said she wanted a mermaid party, I was all in.

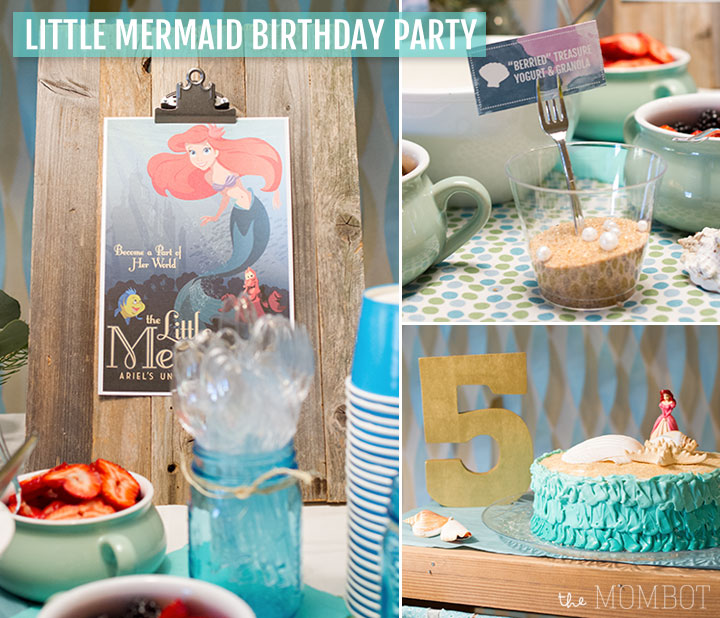
I kept the Disney side of it to a minimum and tried to class it up a bit with watercolor details on the labels, signs and invite and a blue/turquoise color scheme. I kept some of the classic elements of The Little Mermaid by using mini forks (aka “dinglehoppers”) to hold the food signs and using clever wording to name the treats.

Here’s a preview of how it all went down:

Little Mermaid Birthday Party | TheMombot.com

The front door was decorated with a “Mermaids this way” sign and seaweed made from green crepe paper.

Little Mermaid Birthday Party | TheMombot.com

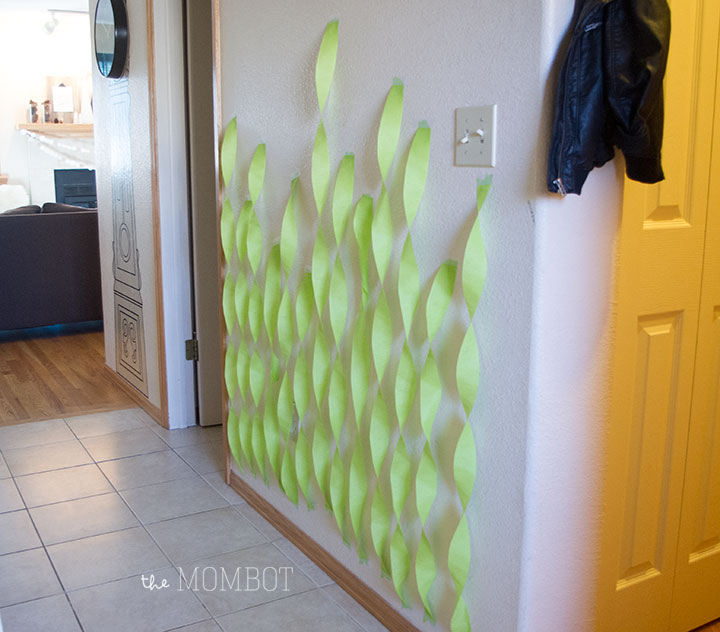
The hallway entrance also got some seaweed embellishments.

Mermaid birthday party invite | TheMombot.com

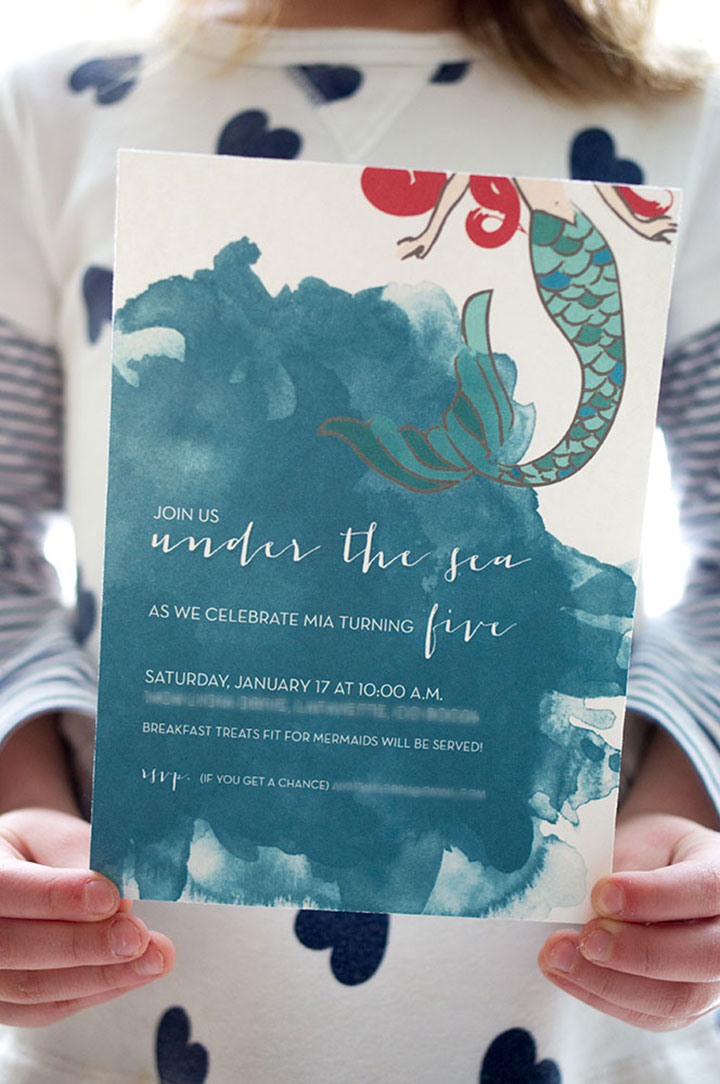
The invitation. Available in my Etsy shop

Little Mermaid Birthday Party | TheMombot.com

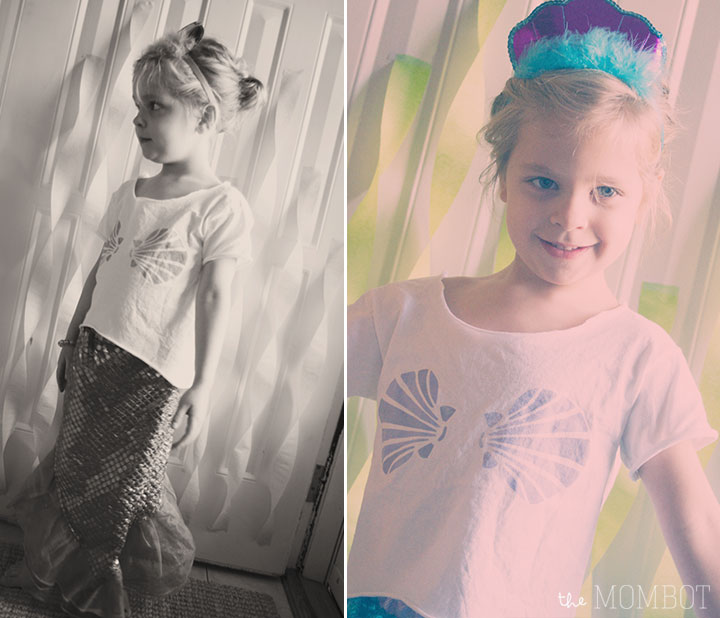
I made my little mermaid a seashell t-shirt, which I think is adorable. She wasn’t too crazy about it because it was far less flashy than her mermaid top that came with the skirt she is wearing, but I eventually convinced her to wear it. I bought the t-shirt at Hobby Lobby for $3.99 and cut the neckline, sleeves and bottom hem (which I made shorter in the front than in the back). Then I created the seashell design (available in my Etsy shop as part of the party package) and printed it on transfer paper and ironed it onto the shirt – so easy! Then I washed it and rolled the edges of the shirt a bit.

Little Mermaid Party Table Decor

Little Mermaid Birthday Party | TheMombot.com

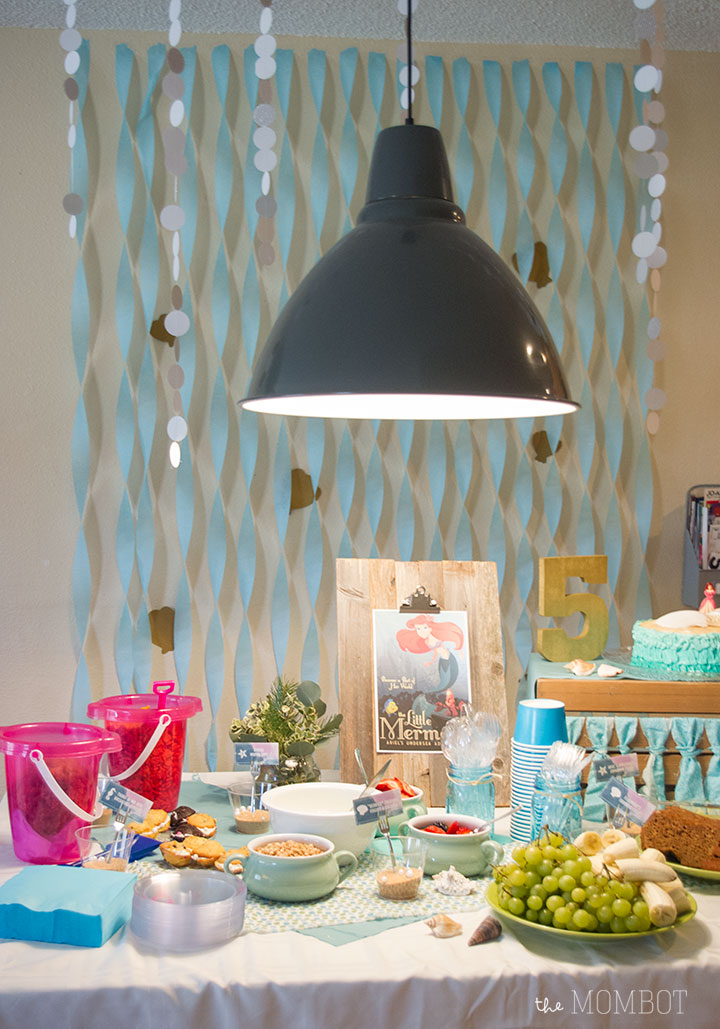
I covered the table with a white tablecloth and scraps of fabric that I already owned in the color scheme. All of the plates, napkins, cups and even the sand buckets were from the Dollar Tree.

Little Mermaid Birthday Party | TheMombot.com

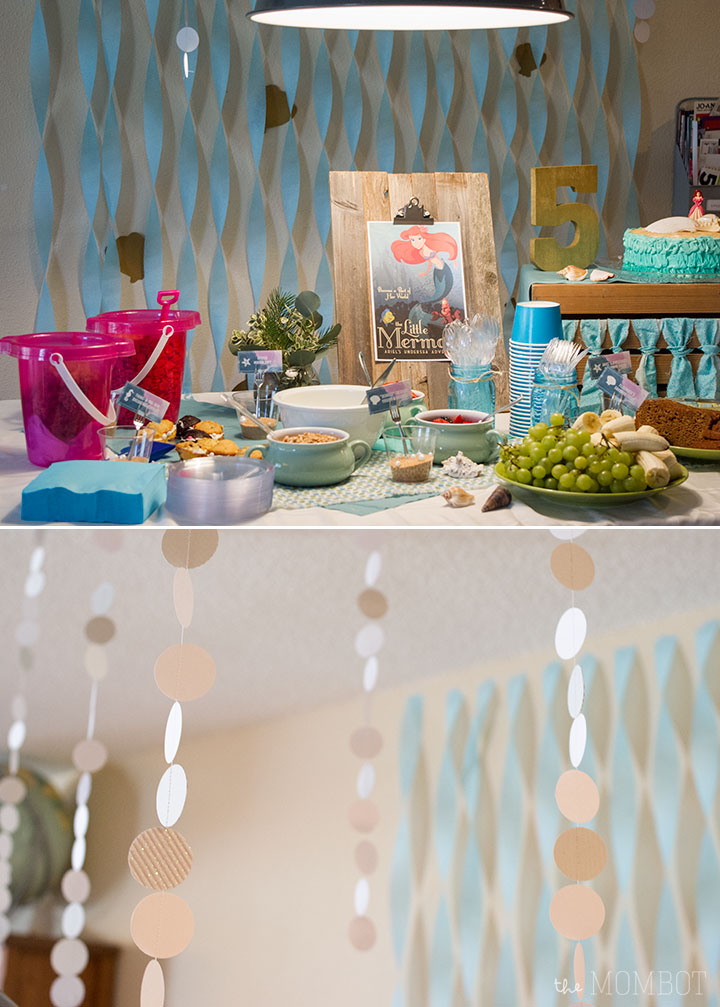
The backdrop was meant to look like waves made from blue crepe paper. I’ve also got some gold seashells taped behind the waves that I drew and cut out from gold posterboard. I sewed together some white and sparkled cardstock to create “bubbles” that hung from the ceiling.

Little Mermaid Birthday Cake

Little Mermaid Birthday Party | TheMombot.com

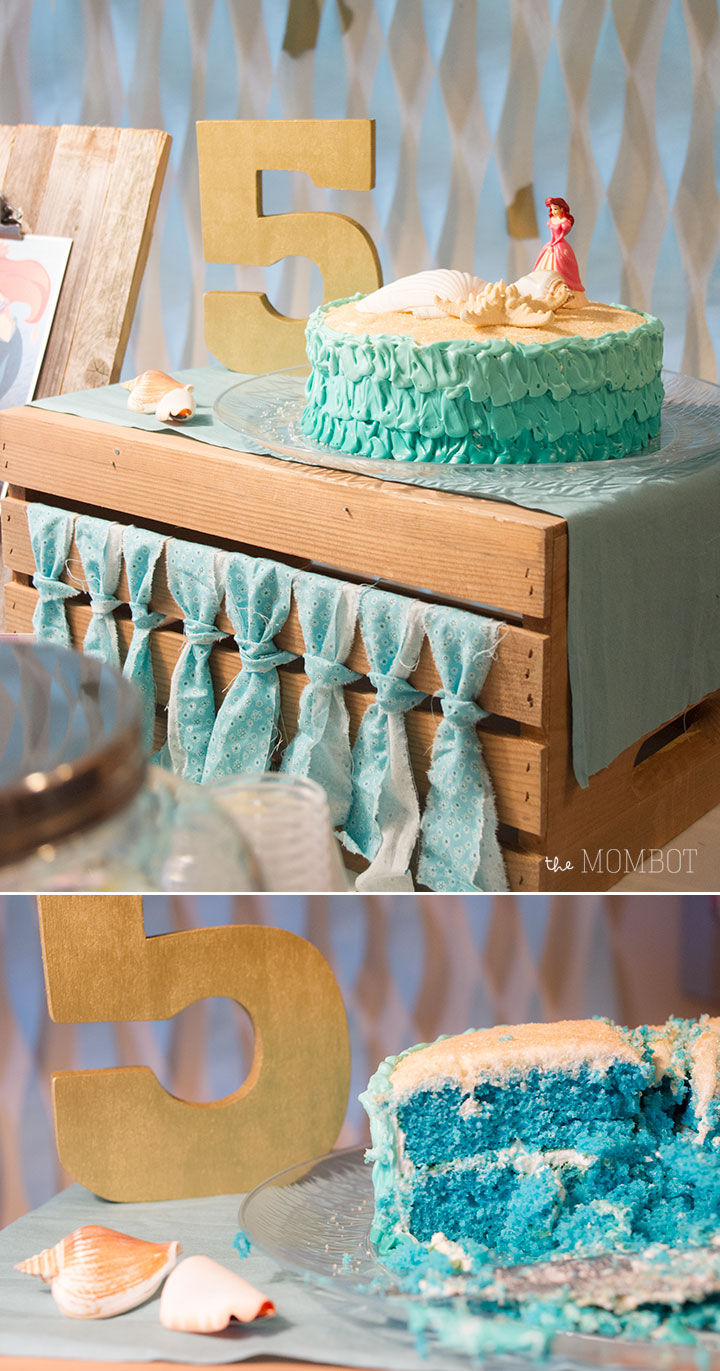
The cake was pretty impressive, if you ask me (because I am definitely not a baker). First of all, the inside was a crazy blue color. Did you know they sell blue velvet cake? They do. One the outside edge, I created an ombre wave effect with icing and I covered the top with turbinado sugar, which looked like sand. I also added some seashells (purchased at Michaels) and a little Ariel figurine that I bought at the Dollar Tree. The cake was good – probably because it was LOADED with sugar…

Little Mermaid Birthday Party Food

Little Mermaid Birthday Party | TheMombot.com

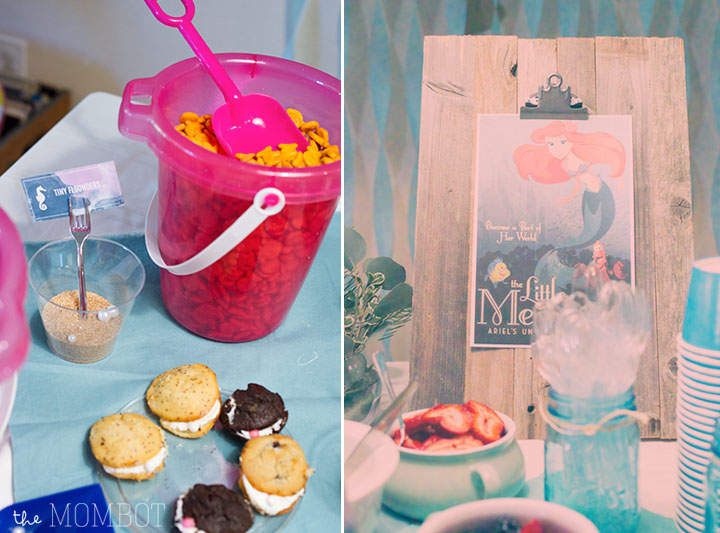
One of my favorite features on the table was the food signs. I found mini forks at the Dollar Tree and stuck them in plastic cups filled with sand and a couple of pearls. Then I wove the food sign through the fork prongs. Voila – the perfect “dinglehopper” sign holders (available in my Etsy shop).

Little Mermaid Birthday Party | TheMombot.com

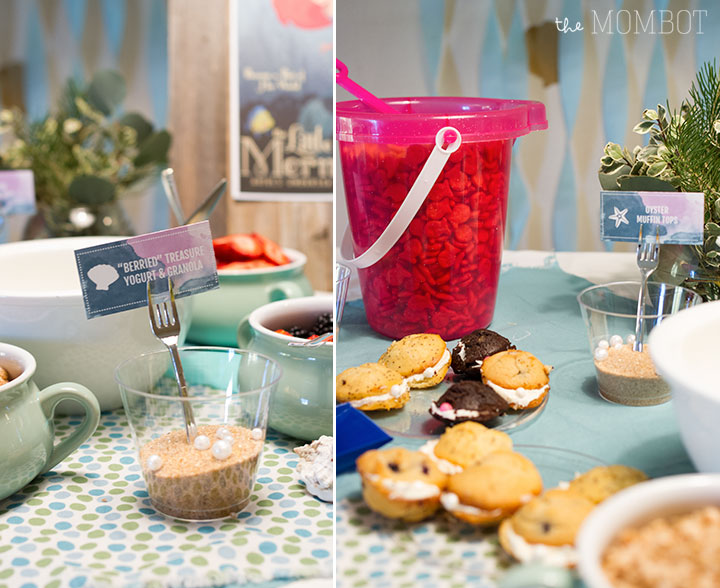
Some of the breakfast goodies served included “tiny flounders” (i.e. goldfish), “oyster muffin tops,” “berried” treasure yogurt & granola, “thingamabob breakfast cookies,” and “Ariel’s applesauce cinnamon bread.”

Little Mermaid Birthday Party | TheMombot.com

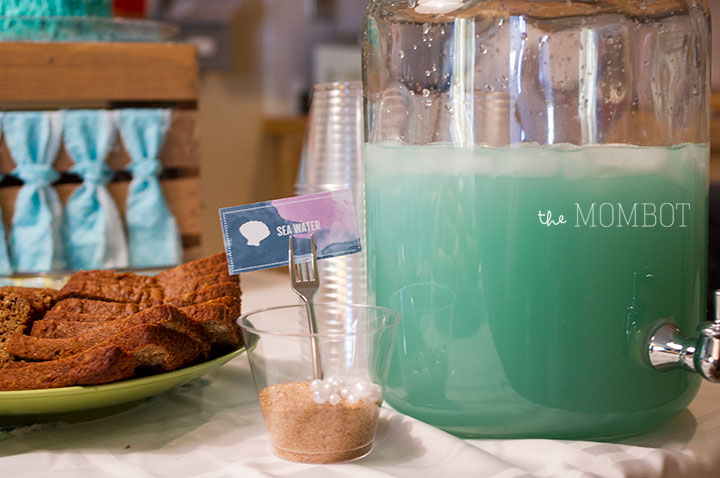
We also needed a fancy drink, so I made “sea water” using lemonade, water and a packet of Kool-Aid blue lemonade mix.

Little Mermaid Birthday Party Games & Crafts

Little Mermaid Birthday Party Game | TheMombot.com

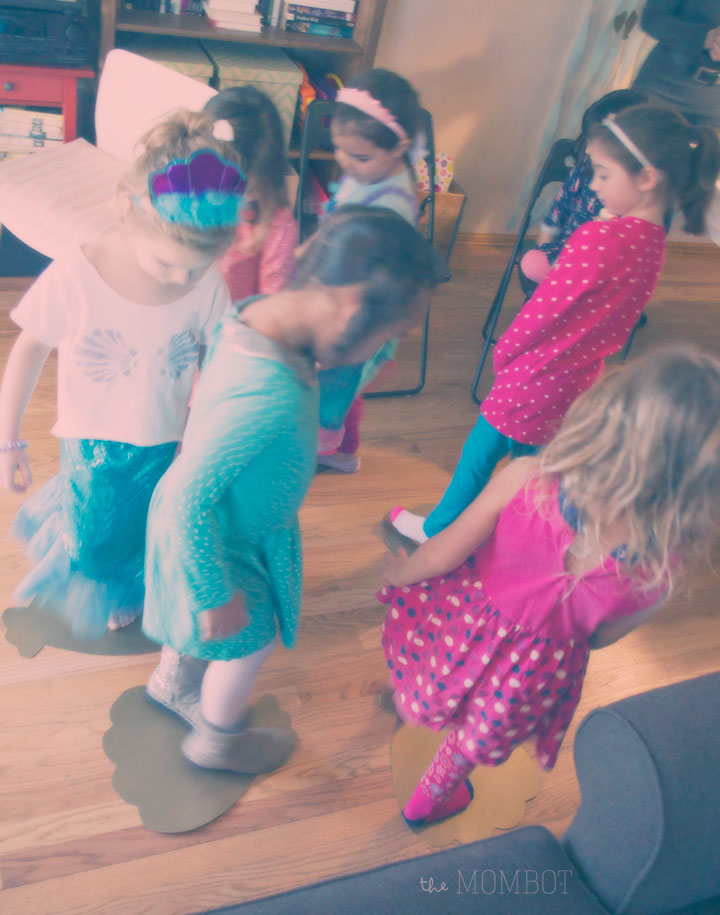
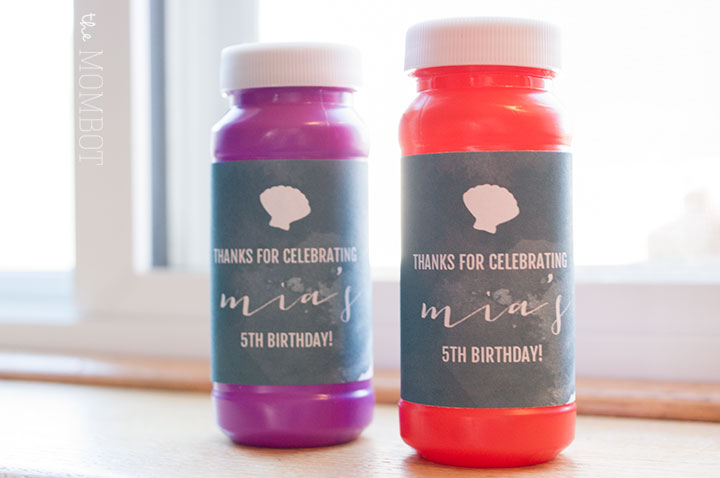
The girls played a game of “find the pearl,” which they thoroughly enjoyed. I cut out seashells from gold posterboard and glued a white circle to the bottom of one (which acted as the pearl). Then they went around in a circle while music played and when it stopped they each picked up their seashell to see who had the pearl. The winner got some bubbles (see below). We played until each girl won (because 4 and 5 year olds can get pretty crabby about that sort of thing).

Little Mermaid Birthday Party Favors | TheMombot.com

Labels available in my Etsy shop as part of the party package

Little Mermaid Birthday Party Craft & favors | TheMombot.com

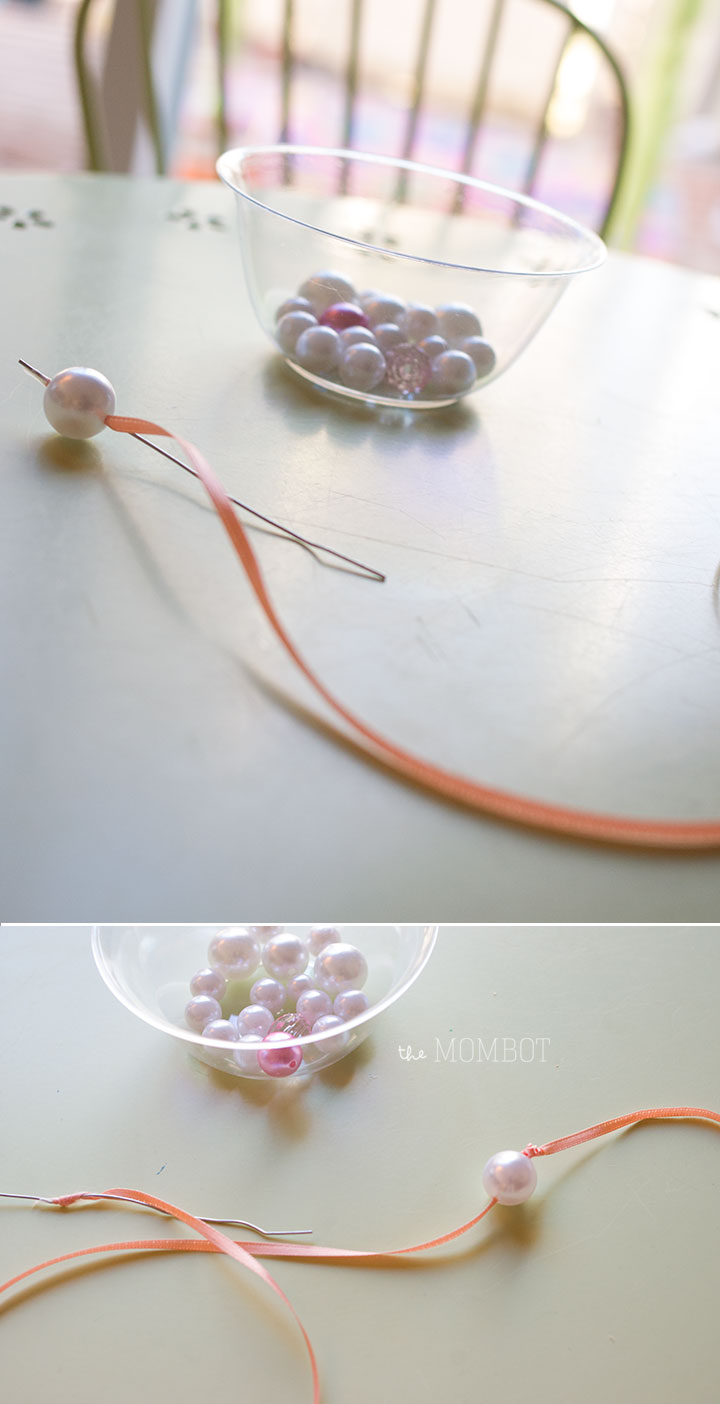
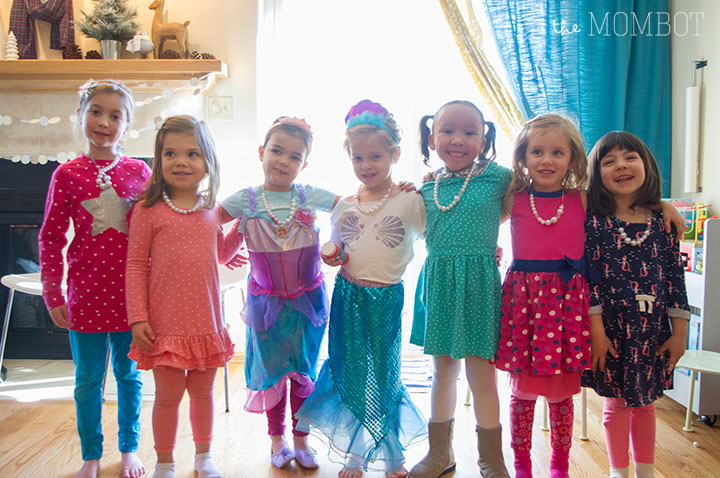
I’m a big fan of having a take-away craft at each party, so this year we made pearl necklaces. I pre-cut and knotted thin ribbon and then (using a very small amount of tape, otherwise it won’t thread through the pearl) attached a paperclip to the end of the ribbon that wasn’t knotted. The girls used this as their “needle” to thread through each pearl. After they had thread all their pearls, I knotted the other end of the necklace and tied it around their necks. Aren’t these girls adorable??

Little Mermaid Birthday Party | TheMombot.com

Little Mermaid Birthday Party | TheMombot.com

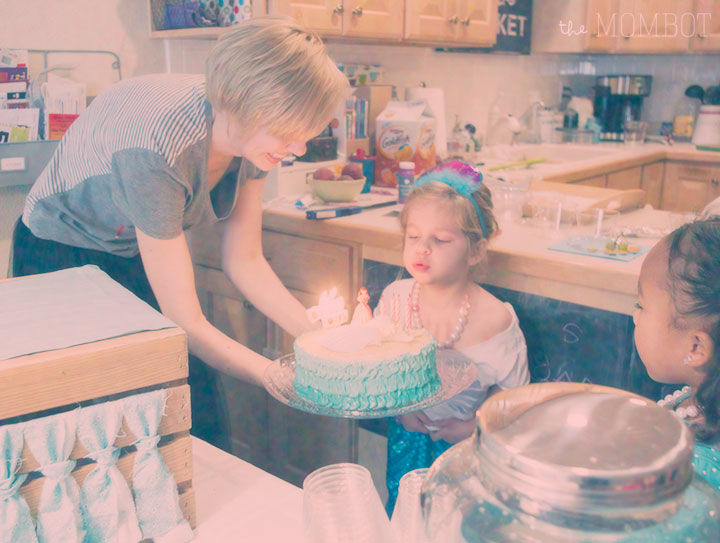
 After all the fun and festivities, it was time to cut the cake and sing “Happy Birthday.”

Little Mermaid Birthday Party | TheMombot.com
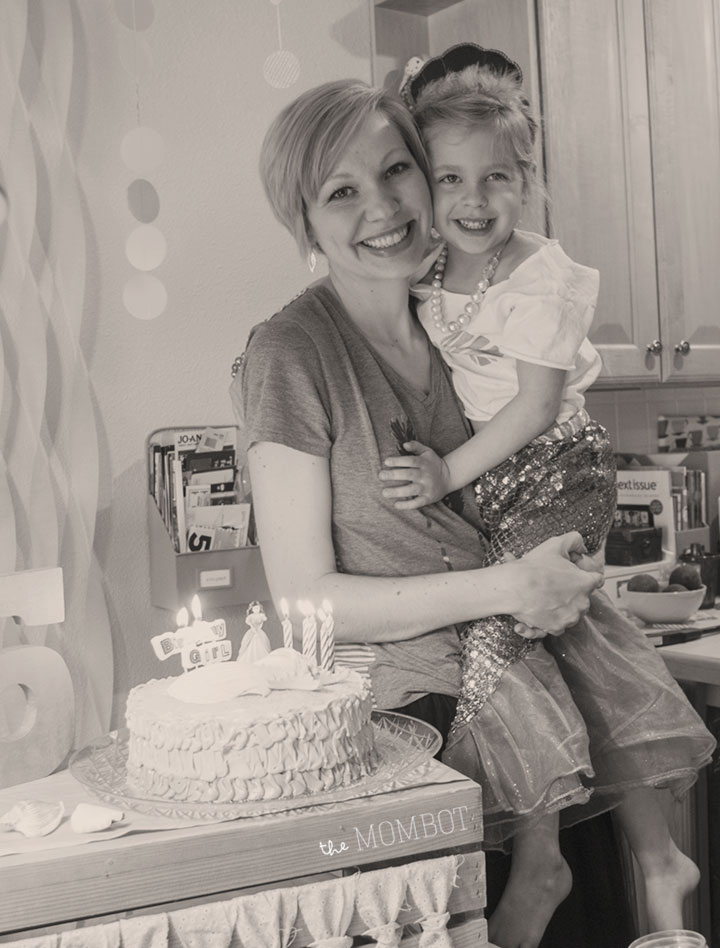
Another year, another party. I can’t believe I have a five year old. (If only she weren’t pushing on my boob in this picture…)


Related posts:

  1. Art themed birthday party
  2. A very pink Curious George birthday party
  3. Funny Father’s Day cards in the shop
  4. Lincoln’s office-themed 1st birthday party

Filed Under: crafting Tagged With: birthday, etsy, nuts bolts paper, party

  • Email
  • Facebook
  • Instagram
  • Pinterest
  • RSS
  • Twitter

HI! I'M AMY.

I'M A BLOGGER, GRAPHIC DESIGNER, MOM, COFFEE ADDICT, DIYER, CHRONIC MULTITASKER AND STRESSCASE, A COOK AND A LOVER OF A GOOD GLASS OF WINE.
LEARN MORE ABOUT ME

Shop My Paper Line:

Favorites:

Instagram:

I get it. It's a little weird. But the girls I've I get it. It's a little weird.
But the girls I've seen do it best, look adorable.

I think it looks best with an oversized tee or sweatshirt, tennies or slides, and a small crossbody bag.

You can't argue with comfort.

For the record, these are women's sleep shorts that I've had a couple of years from Old Navy. If you buy actual men's boxers, you might consider sewing up the pee pocket 😜

Don't spend a lot on this trend; these shorts are made from the thinnest of fabric and shouldn't cost much. Don't be fooled by a retailer that wants you to spend just because it's trendy.

But if you see some cute boxers and want to give it a go - then do! Bonus - if/when the trend ends, you'll have pajamas on the ready 👏

It's solid weekend wear, but I'm not going out to dinner in it...

#boxershortsforgirls #boxershort #ootd #womensfashion #styleinspiration
Another project down in my son's room! I knew I w Another project down in my son's room!

I knew I wanted some sort of built-in feature in this bedroom, but it was hard to figure out what, because we turned it into an active space where he could run and play and needed a lot of room.

So I settled on a built-in bookcase with the slatted design feature, which I'm in love with!

The best part about it is that if he ever decides to upgrade his bed, the space will also accommodate a full or queen size bed going in the opposite direction. It adds so much interest to this room and hopefully will be here for a long time!

One of the things I love most about DIY projects is figuring out how to make something - it's like a giant puzzle. I saw photos of these slotted wall room dividers on Pinterest and just figured it out as I went. All in all, I had very few hiccups and it only took me a few hours to put together. I think I only cursed once?!? And so I call that an extreme DIY win...

Now that the sports wall, the climbing wall, and the built-in feature are complete, the last thing to do in here is some additional painting. I'm thinking of using a contrasting blue color for the closet doors and back side of the built-in, and perhaps trimming out the window with it as well. Then I need to switch out the light for a fan and this.room.is done 🙌

Details: I used two IKEA billy bookshelves, screwed together and secured to the wall. Then wrapped them in white oak plywood. I ripped down 2x4s into 1.5x1.5" square dowels (heavily sanded!) and used pocket holes on the back side of each to secure to the bookshelf and the 1x4 in the ceiling. It's very sturdy!

Go back in my reels to see the other projects from this room! 

#diy #boysroom #roomrenovation #roomrefresh #kidsrooms #climbingwall #soccerbedroom #builtins #bedroomredo #girlswhobuild
This climbing wall took half a day and cost under This climbing wall took half a day and cost under $100!

We are lucky enough to have 13' ceilings in our bedrooms, so a climbing wall seemed to make sense in my son's room as we worked on the remodel.

He is a super active kid with #ADHD, so his room redo has involved lots of activity spaces! Go back in my reels to see past projects and follow to see me finish this up!

#diy #roomrenovation #roomrefresh #kidsrooms #climbingwall #soccerbedroom
Another to-do checked off my list for spring break Another to-do checked off my list for spring break room makeover!

I added very subtle striping to the wall to mimic a soccer field and keep things classy. ⚽

Stick around to see the next project - a climbing wall!

(And go back in my reels to see the sports wall)

#roommakeover #soccer #kidsroom

Popular Posts:

Ikea Hack: DIY Mudroom Benches
Babyproofing the stair railings with plexiglass
Felt Food Patterns (Link Love)
DIY Outdoor Boot Rack

Recent Posts

  • Functional and Stylish Small Entryway Ideas for a Welcoming Space
  • Pendant & Accent Lights Under $100
  • DIY Stenciled Concrete Floors: Laundry Room Update Part 1
  • First Day and Last Day of School Questionnaire (free printables)
  • How to Create Canvas Wall Art from Digital Photos

>> ABOUT ME
>> DISCLOSURE STATEMENT
>> CONTACT ME

Copyright © 2025 themombot.com
Terms of Service // Privacy Policy