The title of this post basically encompasses everything I am passionate about when it comes to home decor. Give me shiplap and give it to me on every wall. That’s how to make me a happy lady.
So when we moved into our home 2 years ago and the walls were all textured, blank and painted the same color, my wheels began to turn. It took us almost the entire two years to finally do something with our downstairs living room, which is where we spend most of our time (thanks to the television… go ahead and judge, I am not ashamed). It’s been a mess of toys and TV wires and chaos for that entire length of time and it was just plain ugly.
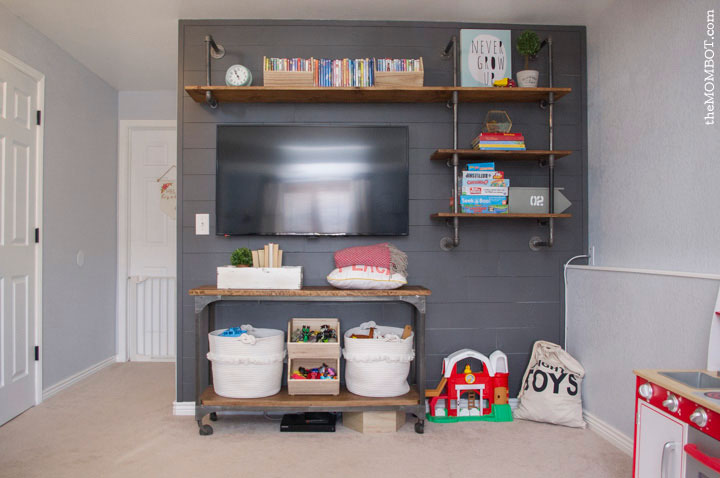
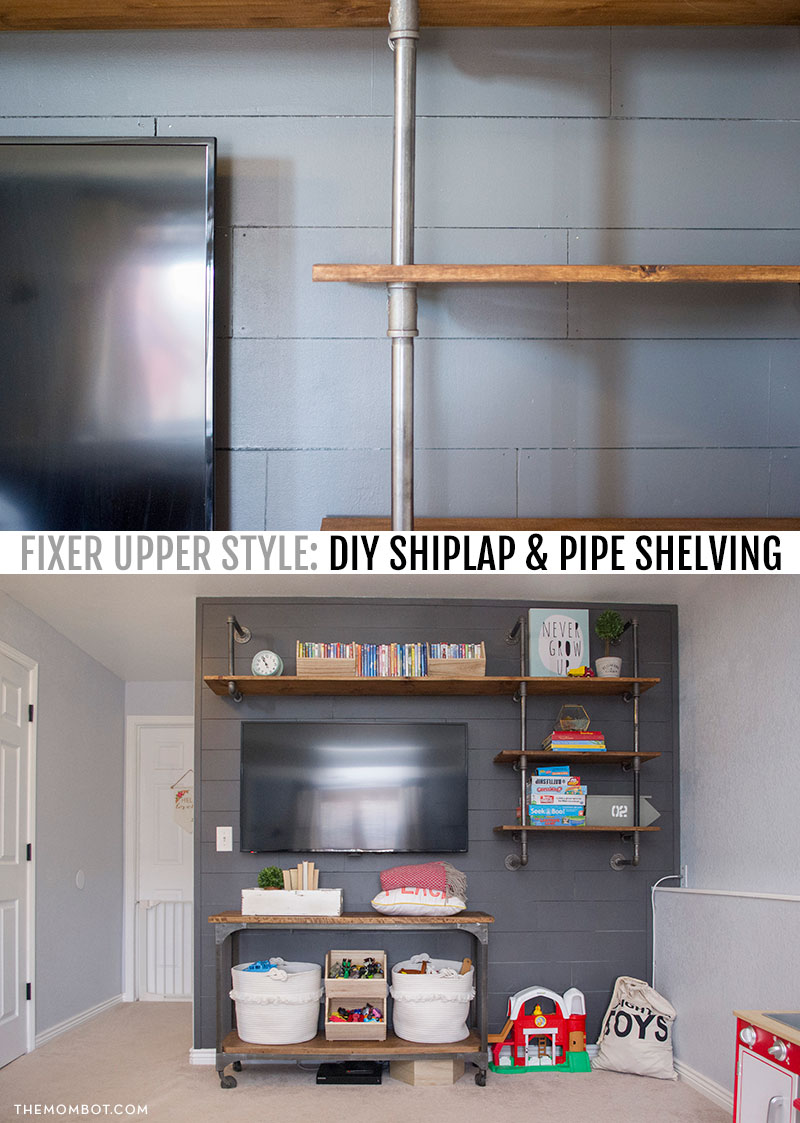
I knew I wanted to shiplap the wall the TV hung on and create a shelving unit with character, making this wall the anchor of the room. I fell in love with some of the DIY pipe shelving units I was seeing on Pinterest and in many episodes of Fixer Upper and – in true Amy fashion – threw three of them together into a design and method I liked.
We begin with the shiplap. After putting it up, we painted it white. And I hated it.
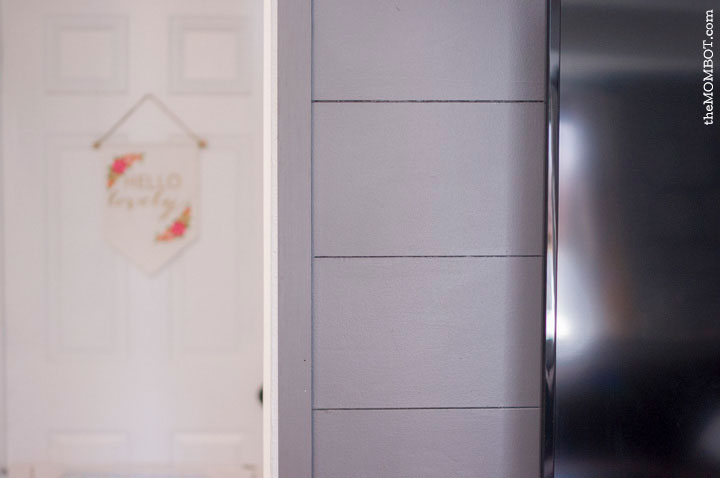
This room only has one window and one ceiling light and tends to be dark, so I thought white shiplap would brighten it up. But it looked cheap and unfinished. So I did a complete 180 and painted it Peppercorn by Sherwin Williams. Then we finished the edges with trim, which made all the difference. It was dark, but it looked luxurious and modern.
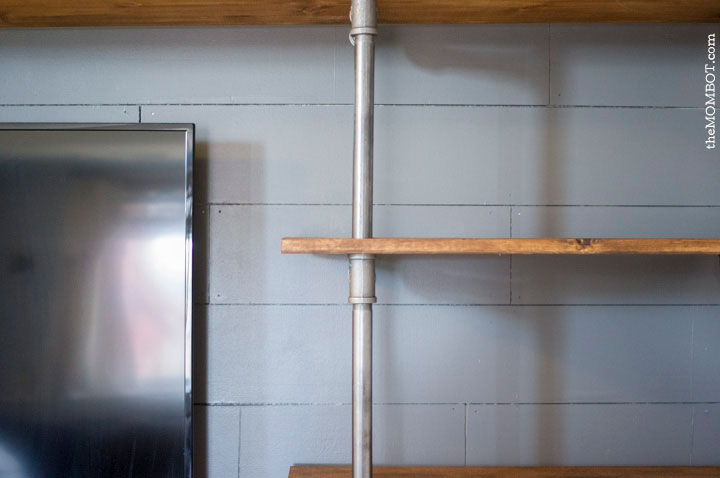
Dark Painted Shiplap:
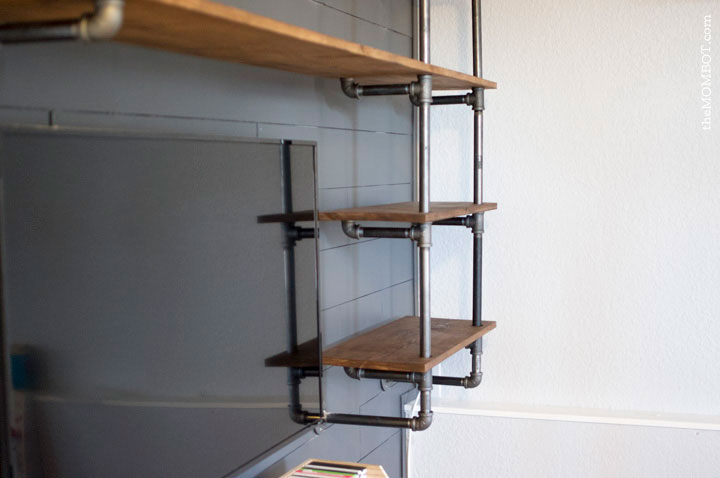
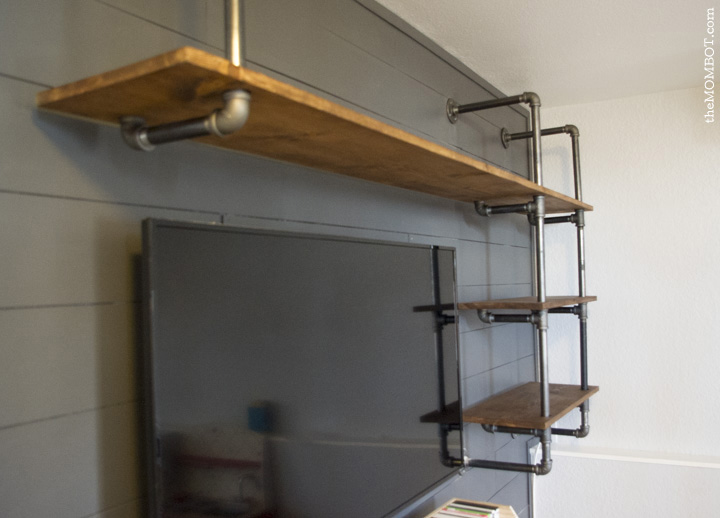
Industrial Pipe Shelving Unit:
Then we moved on to the shelving unit. Let me just say – the internet makes this look so much easier than it is. The pipes don’t all screw together tightly when you are assembling pieces that need to be at 90 degree angles, so hanging it can be interesting and a bit floppy, for lack of a better term. We used our level to excess during the process.
We had to purchase some very heavy duty wall anchors because none of our studs lined up with where we needed the unit to go (of course). And we decided on shelves that had a hole drilled in them and a pipe running through them (like these) instead of just the ones that sit on top of the pipes (like these). I just felt like these would be more secure, especially with little ones around. But this, of course, made the process more difficult.
We had to start hanging the unit from the bottom up and mark and drill the holes on the shelves as we went, in order to ensure they were drilled in the right spot. Once the holes were drilled, we then had to stain the shelves and coat them with polyurethane before we could install them and finish putting up the unit. So this entire process took us over a week from start to finish. Because I am Type-A and don’t like mess and DO like to finish projects the day I start them, this was a challenge for me.
I should mention, this whole project would have been MUCH faster and easier had we done it how Joanna Gaines suggests on her Magnolia blog. Her tutorial has you screwing the pipes under the shelves into the wall and then you slide the shelf in between the wall and the outer vertical pipes. It would have saved us a lot of time if we did this versus drilling the holes in the shelves and placing them on the pipes as we built. However, I was worried about the stability of the shelving and if it would stay put when it wasn’t attached to anything? Plus, you know how it is with kids; they would yank that bottom shelf down faster than I can sneeze. So we went the other route, and though it took longer, I do think it was worth it.
But once it was done; wow. I was – and am – so thrilled with the final result. This room feels so much more complete! I should also mention that many tutorials also give you the option/suggestion to spray paint your pipes black for a uniform color. But I rather liked the pewter color of the pipes and they matched our console table quite well, so we left them as is (though I did give them a good cleaning, which took a couple of hours…ugh).
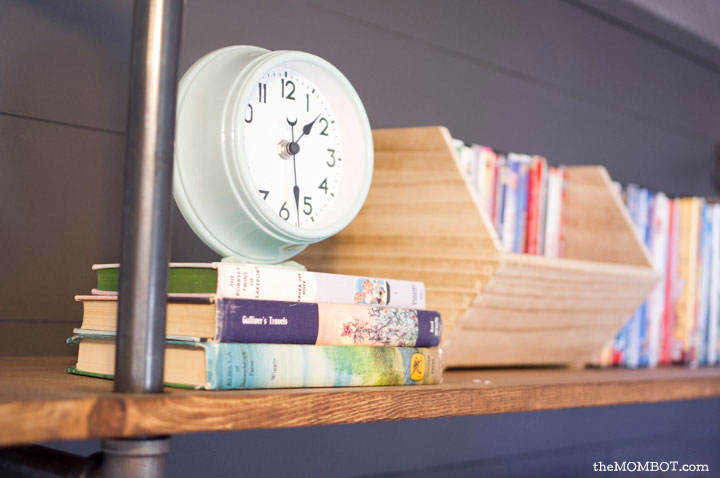
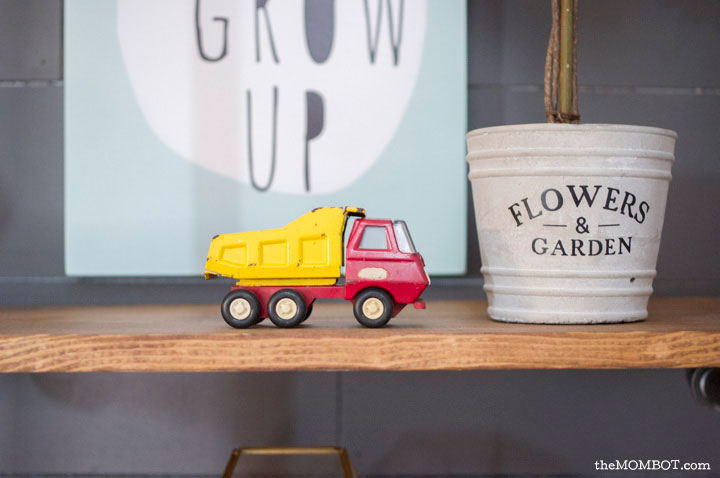
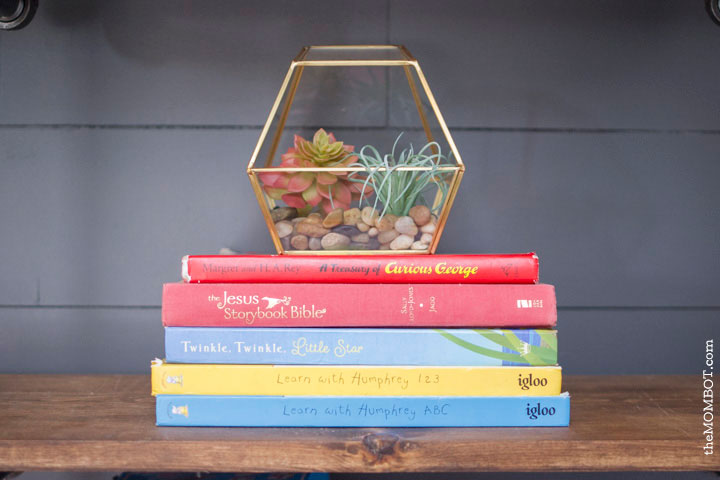
To decorate the shelves, I put our DVDs up top using some Pillowfort wooden bins from Target, added some new art from Hobby Lobby, some faux plants, kids books, and games. This room is where many of our toys are and where our kids spend majority of their time, so I made sure to bring in some kid-friendly elements on the shelves like vintage books and an old toy truck. This shelving unit is also form meets function, because I desperately needed a place high up to put our games and DVDs so that our two year old could no longer destroy them. And I am happy to report, mission accomplished.
Decorating the Fixer Upper Style Industrial Shelves:
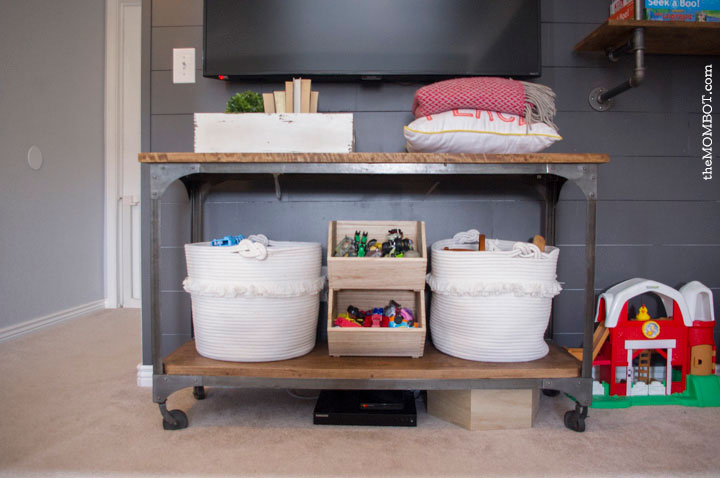
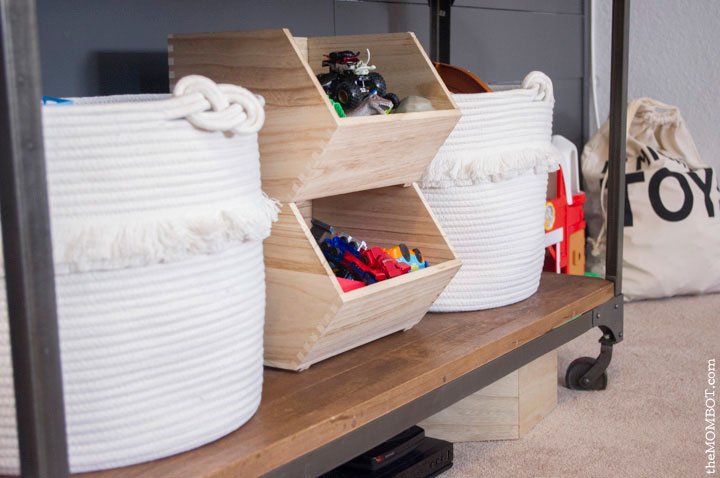
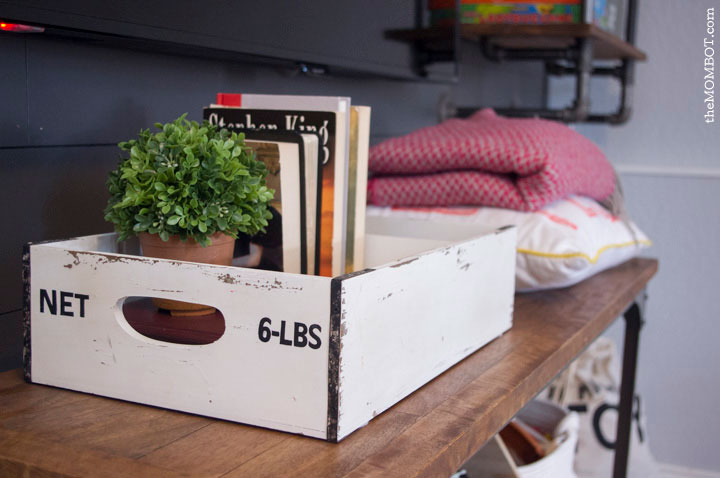
Below the TV sits our console table from World Market that we’ve had for several years now, and we added some Pillowfort rope bins (Target), Pillowfort wood bins (Target) and a few other odds and ends. We finally got the TV cords hidden behind the wall, and I hid the extra cable wire under the console table by placing it inside of an old hexagon wall shelf that I wasn’t using. It was the right height to fit under the table and blended in nicely.
The last pieces of the puzzle in this room are to install shiplap on the half wall adjacent to this wall (this time I will paint it white and I think I’ll actually like it). Then we are hoping to put in some recessed lighting, because we only have one off-center fixture in this room.
A few other little odds and ends and this room will be complete!
