• The Mombot
  • Gift Guides
  • My Story
  • Food & Drink
  • Life
  • Home
  • DIY
  • Mama Style
  • Shop

The Mombot

Motherhood Simplified.

Homemade Magic Shell

December 11, 2015 | Leave a Comment

diy-magic-shell2

You guys remember Magic Shell, right? It was super cool before there were 18,000 different kinds of Ben & Jerry’s ice cream flavors and chocolate sauce was about as fancy as you could get with your dessert.

I always referred to it as a “chocolate dipped cone” because that is the only form I ever ate it in (thank you, McDonalds). I still remember being in my 20s and having a friend mention this mysterious Magic Shell to me… to which I said, “what is that?” And then she gawked and laughed at me. Now that I’m older and wiser, I not only know what it is, but I loooooove me some Magic Shell on vanilla ice cream. It’s such a lovely late night treat… or afternoon treat… or mid-morning treat.

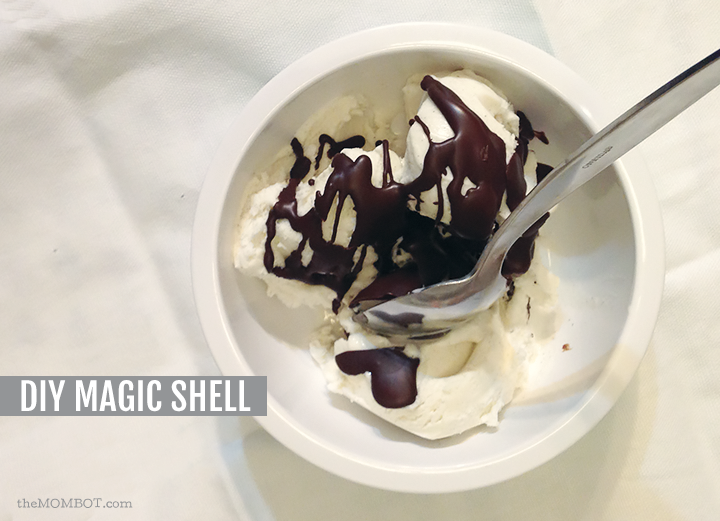
Anyway, I recently came across a “homemade magic shell” pin and was intrigued. And then I was thrilled when I realized it not only required only two ingredients, but it was completely all natural and super easy. Are you ready for this?

Homemade Magic Shell:

  • 8 ounces chocolate (I use chocolate chips, but you can also use chocolate bars, chopped)
  • 2 tablespoons coconut oil

Amazing, right?

It had never occurred to me that coconut oil would be the perfect ingredient for this treat because it liquifies when warm and hardens when cold.

I suggest using quality chocolate; I like the Guittard extra dark chocolate chips because they are dairy free and delightful.

To make…

Combine your chocolate and coconut oil in a bowl and melt slowly in the microwave (about 20 seconds at a time, stirring in between) and then let cool for about 5-10 minutes before pouring over your ice cream. Alternately, you could melt your chocolate with a double broiler – but that’s really only for the fancy folk, am I right?

My kids were totally taken with this super cool treat that mom made them and for about 5 minutes, I was the best.mom.ever. Then I made them go to bed and I was the worst again. Ah, well.

Give it a go!

Related posts:

  1. How to make your own croutons
  2. Chicken orzo soup recipe
  3. Minestrone Soup Recipe
  4. Budget meal: Chicken rice bowls

Filed Under: food Tagged With: chocolate, dessert, recipes

  • Email
  • Facebook
  • Instagram
  • Pinterest
  • RSS
  • Twitter

HI! I'M AMY.

I'M A BLOGGER, GRAPHIC DESIGNER, MOM, COFFEE ADDICT, DIYER, CHRONIC MULTITASKER AND STRESSCASE, A COOK AND A LOVER OF A GOOD GLASS OF WINE.
LEARN MORE ABOUT ME

Shop My Paper Line:

Favorites:

Instagram:

I get it. It's a little weird. But the girls I've I get it. It's a little weird.
But the girls I've seen do it best, look adorable.

I think it looks best with an oversized tee or sweatshirt, tennies or slides, and a small crossbody bag.

You can't argue with comfort.

For the record, these are women's sleep shorts that I've had a couple of years from Old Navy. If you buy actual men's boxers, you might consider sewing up the pee pocket 😜

Don't spend a lot on this trend; these shorts are made from the thinnest of fabric and shouldn't cost much. Don't be fooled by a retailer that wants you to spend just because it's trendy.

But if you see some cute boxers and want to give it a go - then do! Bonus - if/when the trend ends, you'll have pajamas on the ready πŸ‘

It's solid weekend wear, but I'm not going out to dinner in it...

#boxershortsforgirls #boxershort #ootd #womensfashion #styleinspiration
Another project down in my son's room! I knew I w Another project down in my son's room!

I knew I wanted some sort of built-in feature in this bedroom, but it was hard to figure out what, because we turned it into an active space where he could run and play and needed a lot of room.

So I settled on a built-in bookcase with the slatted design feature, which I'm in love with!

The best part about it is that if he ever decides to upgrade his bed, the space will also accommodate a full or queen size bed going in the opposite direction. It adds so much interest to this room and hopefully will be here for a long time!

One of the things I love most about DIY projects is figuring out how to make something - it's like a giant puzzle. I saw photos of these slotted wall room dividers on Pinterest and just figured it out as I went. All in all, I had very few hiccups and it only took me a few hours to put together. I think I only cursed once?!? And so I call that an extreme DIY win...

Now that the sports wall, the climbing wall, and the built-in feature are complete, the last thing to do in here is some additional painting. I'm thinking of using a contrasting blue color for the closet doors and back side of the built-in, and perhaps trimming out the window with it as well. Then I need to switch out the light for a fan and this.room.is done πŸ™Œ

Details: I used two IKEA billy bookshelves, screwed together and secured to the wall. Then wrapped them in white oak plywood. I ripped down 2x4s into 1.5x1.5" square dowels (heavily sanded!) and used pocket holes on the back side of each to secure to the bookshelf and the 1x4 in the ceiling. It's very sturdy!

Go back in my reels to see the other projects from this room! 

#diy #boysroom #roomrenovation #roomrefresh #kidsrooms #climbingwall #soccerbedroom #builtins #bedroomredo #girlswhobuild
This climbing wall took half a day and cost under This climbing wall took half a day and cost under $100!

We are lucky enough to have 13' ceilings in our bedrooms, so a climbing wall seemed to make sense in my son's room as we worked on the remodel.

He is a super active kid with #ADHD, so his room redo has involved lots of activity spaces! Go back in my reels to see past projects and follow to see me finish this up!

#diy #roomrenovation #roomrefresh #kidsrooms #climbingwall #soccerbedroom
Another to-do checked off my list for spring break Another to-do checked off my list for spring break room makeover!

I added very subtle striping to the wall to mimic a soccer field and keep things classy. ⚽

Stick around to see the next project - a climbing wall!

(And go back in my reels to see the sports wall)

#roommakeover #soccer #kidsroom

Popular Posts:

Ikea Hack: DIY Mudroom Benches
Babyproofing the stair railings with plexiglass
Felt Food Patterns (Link Love)
DIY Outdoor Boot Rack

Recent Posts

  • Functional and Stylish Small Entryway Ideas for a Welcoming Space
  • Pendant & Accent Lights Under $100
  • DIY Stenciled Concrete Floors: Laundry Room Update Part 1
  • First Day and Last Day of School Questionnaire (free printables)
  • How to Create Canvas Wall Art from Digital Photos

>> ABOUT ME
>> DISCLOSURE STATEMENT
>> CONTACT ME

Copyright © 2025 themombot.com
Terms of Service // Privacy Policy