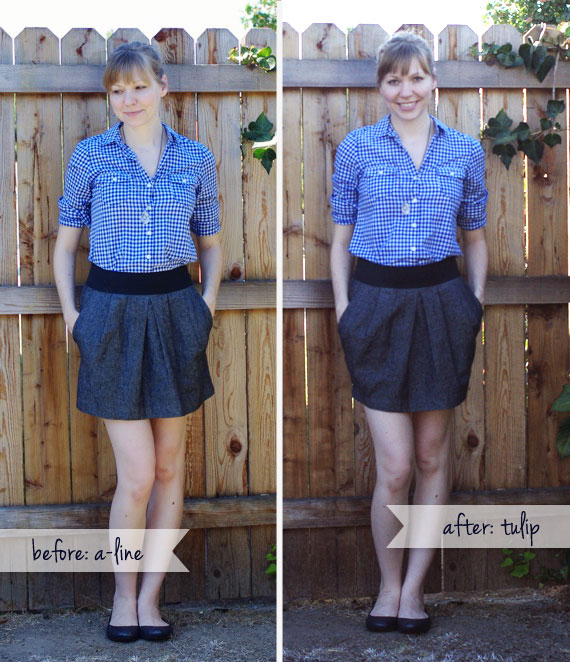
It was time for me to breathe some life back into this old skirt. I’ve owned it for a couple of years now, and recently decided to pull it out of my closet on one of those days where I felt like I had nothing to wear. After checking out the silhouette, I decided the a-line shape was boring and outdated, and that it definitely needed to be updated to a tulip skirt.
So I pulled out the scissors and went to work.
Here how I turned an a-line skirt into a tulip skirt:
1. I decided how much I wanted to take from the sides at the hemline to create the tulip shape. I did this by pinching the sides at the hem in the mirror, and then measuring the outcome.
2. Then I turned the skirt inside out and tore the seams at the hem just enough to give me room to work with the side seams.
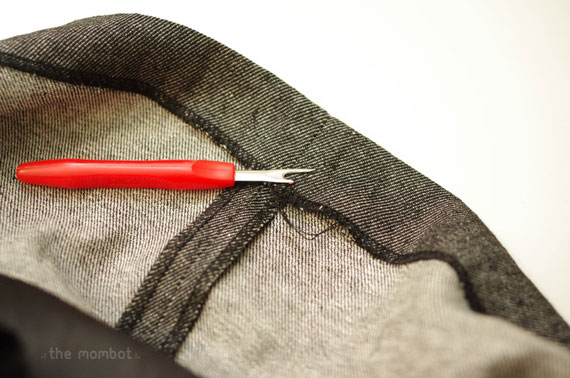
3. Then I marked the amount I wanted to remove with a pin, and drew an inward curve with a black marker where I wanted my new seam to be.
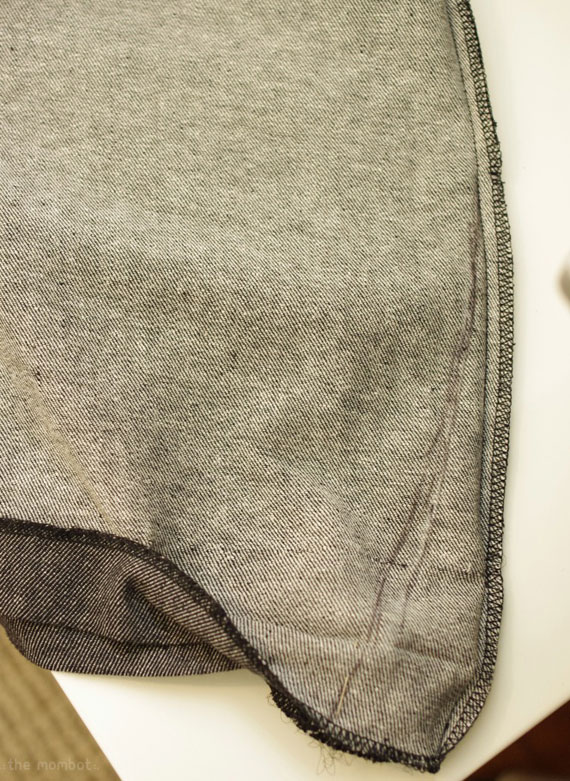
4. I placed pins down my new seam line so that I could mimic how it would look after sewing and tried it on, just to be sure. Once I was satisfied, I copied the line onto the other side seam.
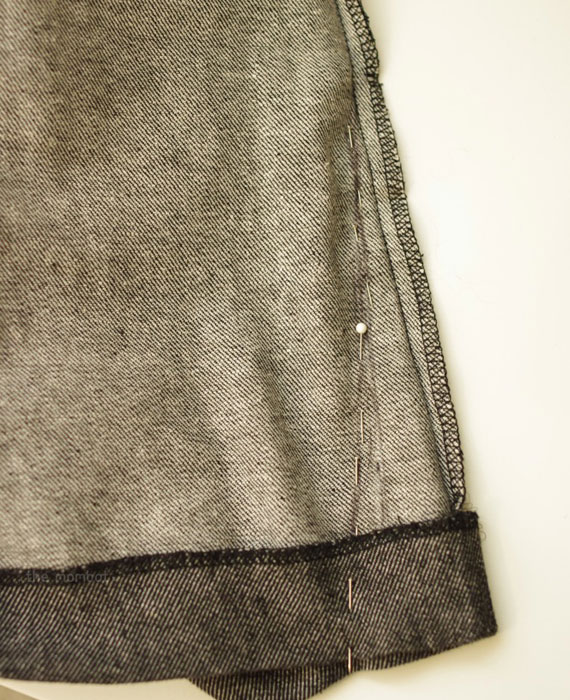
5. Then I sewed my new seams, cut off the excess and used my serge stitch on my machine to finish the raw edges.
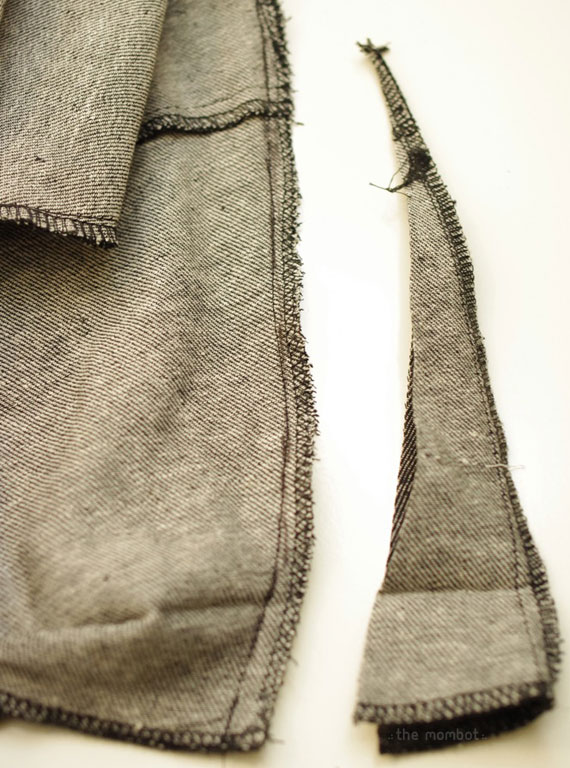
6. To finish, I refolded my hems and handstitched them shut with a simple slip stitch.
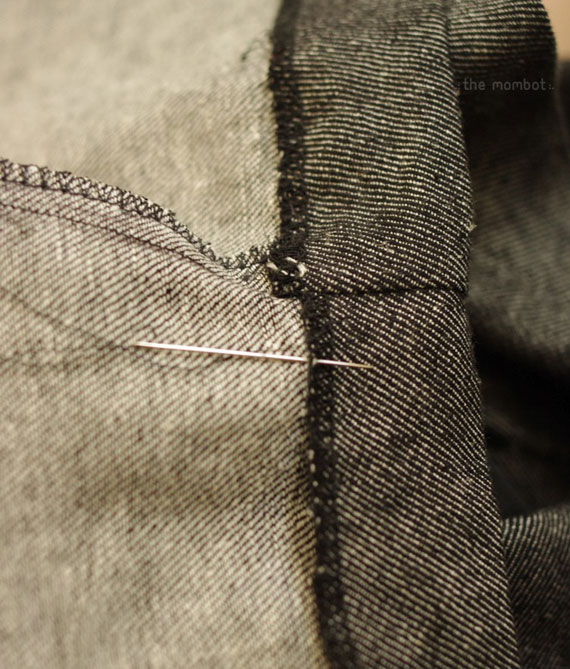
My skirt also had lining, so I had to repeat the steps above on the lining.
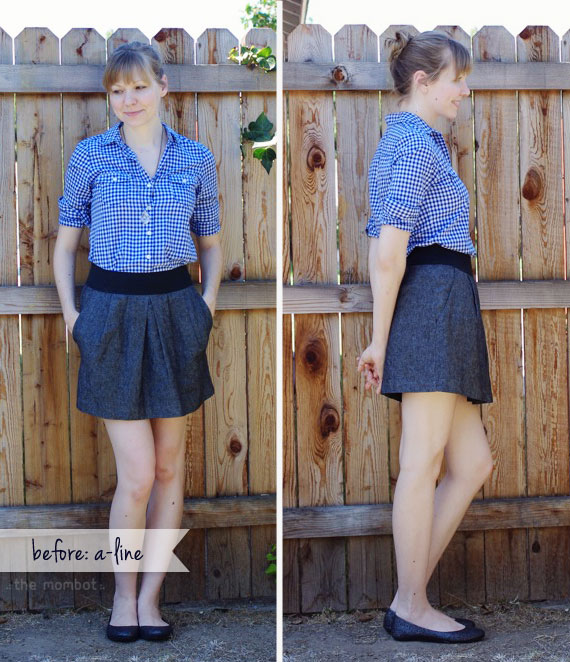
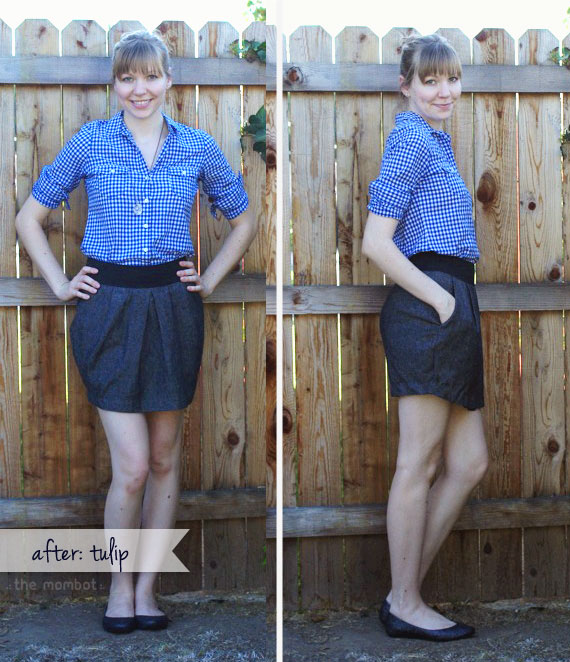
Voila! A {new} skirt with an updated silhouette. I feel much more ladylike in it since it gives me some more curves. A tall, straight stick like myself needs all the help she can get!
I’m linking up to The Pleated Poppy!
