At the beginning of the summer, I sought out to overhaul our patio a bit and make it more of a livable space.
Over the years, the Mr. and I have had lots of talks about extending our living area by creating outdoor spaces to hang out. We love the idea of a smaller house with more areas outside in which to “live,” and our big backyard patio gave us the perfect opportunity to do this.
Our patio hasn’t had much going on since we moved in a year ago. I’ve longed for a pergola so I could hang some lights and because I desperately wanted to use it to create a bit of a privacy fence. Our house is on a corner and you can see directly onto our patio from the street. It makes things a bit awkward when you’re eating dinner in front of the entire neighborhood… I figured a small privacy fence along the patio railing would help create a space that we felt more comfortable hanging out in.
But knowing that pergola construction wasn’t really in our budget this summer, I started researching other ideas that would allow for privacy and lighting. I stumbled upon an idea that used 2×2 poles attached to deck railing with hooks in the top for stringing lights. Bingo! An idea is born.
DIY Patio Privacy Fence
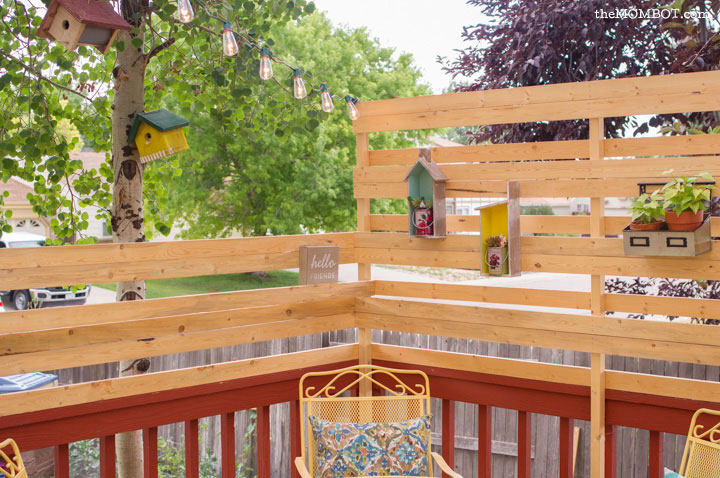
So we bought 4 2x2s to use as our posts and a bunch of 1x3s to create a privacy fence. We bought the common boards that are only a couple of dollars for each 8’ board (just be sure you try and find the straightest and least damaged ones you can because some of these boards are gnarly). I wanted to keep the wood raw instead of staining it the same red as the deck (which I hate, by the way, but ain’t no way am I feeling like sanding and re-staining my deck right now), so we just sanded the boards and sprayed them with polyurethane.

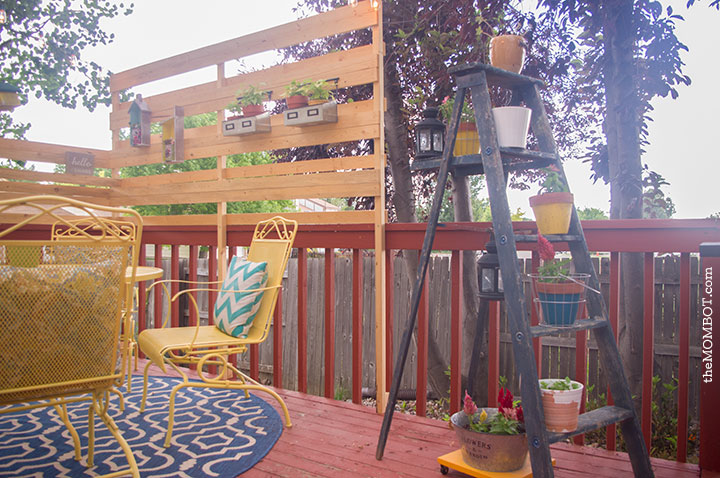
We screwed each of the four posts into our existing deck railing at the top and bottom using 4″ decking screws. We had to use small 2×2″ spacers along the bottom of the railing in order for the posts to sit flush, but as you can tell, they aren’t even noticeable. To create privacy, we just nailed the 1x3s into place along the posts with a nail gun. We created sort of a pallet design with some boards on the inside of the poles and some on the outside and alternated one board and then two. It ends up allowing us to still see through, but gives us a lot more privacy than before.
We kept the privacy fence shorter on the left side because I wanted to still be able to see into our kids’ play area over there from our patio door, and privacy from the street isn’t as much of an issue on that side. Plus, I like that it has some variation in height.
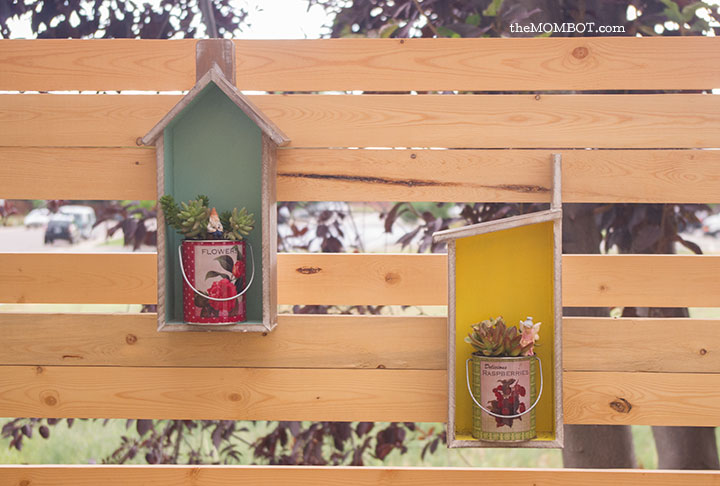
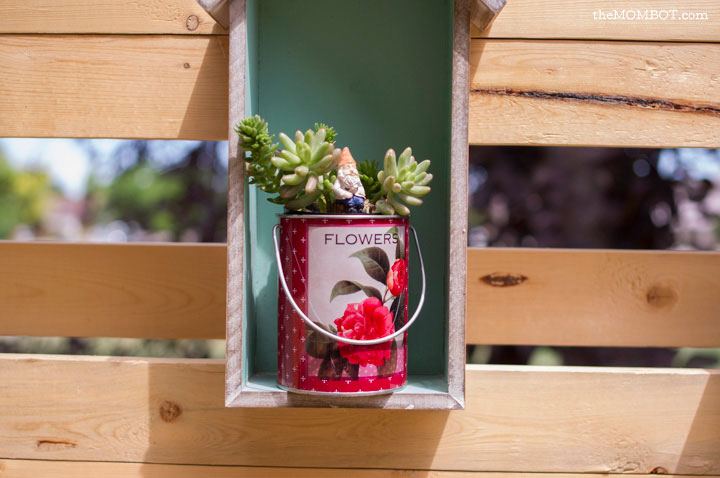
I hung some planters and other goodies on our new privacy fence from Michaels to jazz it up a bit. Eventually I would like to go back and stain the bottom half of the posts the same color as the deck so they are less noticeable… you know, when I get the chance (i.e. that will never happen).

But my favorite part about our new privacy fence by far are the lights that we strung from the top of it.

DIY suspension lights
I’ve hung lights outside in the past, never used a suspension wire to clip them to even though I knew it looked classier. But they often came apart at the plugs and fell down and broke a ton of expensive little bulbs, so this time around, I decided to suck it up and do it right.
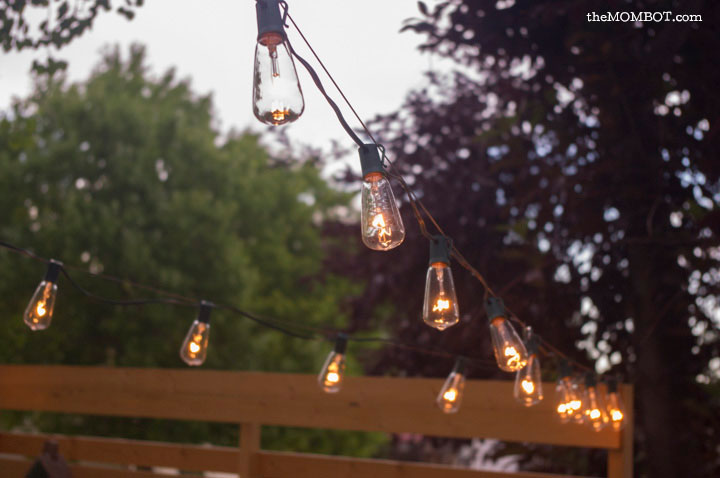
I checked in stores and online for wire suspension kits and guess what? They run anywhere from $40 – $60. I figured I could do better. So I went to Home Depot and found the parts contained in these kits on their own for way less money. And THEN I went to Walmart and found the same items for EVEN LESS money! Can you feel my excitement?? 30 feet of thin suspension wire from Walmart is $5 (it includes clamps for creating the loops at the end). I bought two of them, along with some eye hooks for attaching the lights to the side of our house. What should have cost me $60, ended up costing me about $20; and since I bought these cool Edison bulb lights on clearance after Christmas last year, this was a super budget-friendly lighting project.
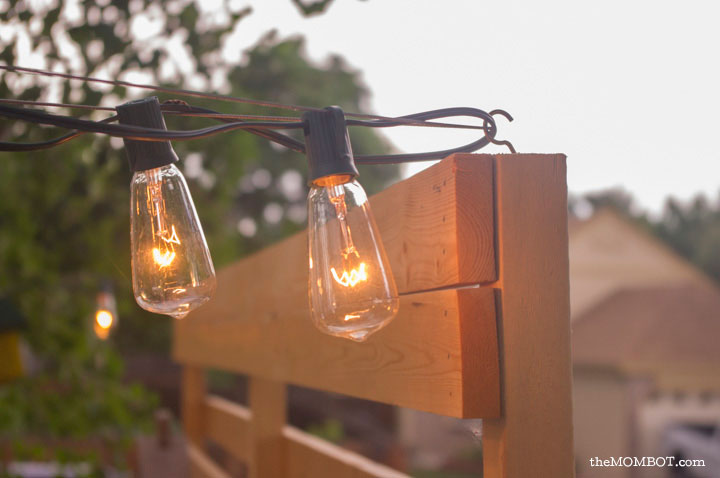
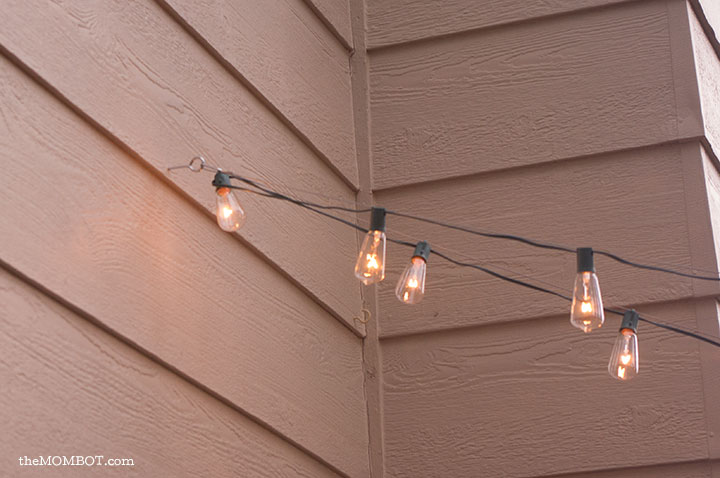
We screwed some small hooks in the top of two of our posts to string the lights through and then figured out the right placement for the eye hooks that we screwed into the side of the house. And that was it! It took about 30 minutes in the rain (that was unfortunate) and we had fancy looking lighting on our patio. The best part is that when winter rolls around, we can unclip the lights and store them away and the wire will still be there ready and waiting come summer.
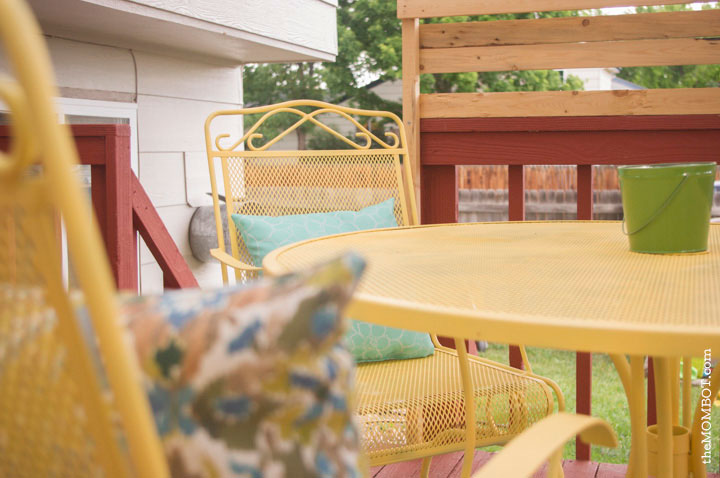
Re-painted patio furniture
I also overhauled our patio set, which was given to us by a friend. It was one of those plain ol’ black metal sets that you can buy here.
It was getting rusty so I decided to give it a face lift by spray painting it yellow. This is not for the faint of heart. It took nearly 8 cans of spray paint (Rustoleum in Summer Squash) and several days to complete. But the end result is pretty fantastic. Because I’m obsessed with chippy paint, I kind of can’t wait for it to get a bit weathered and have the black show though in spots.
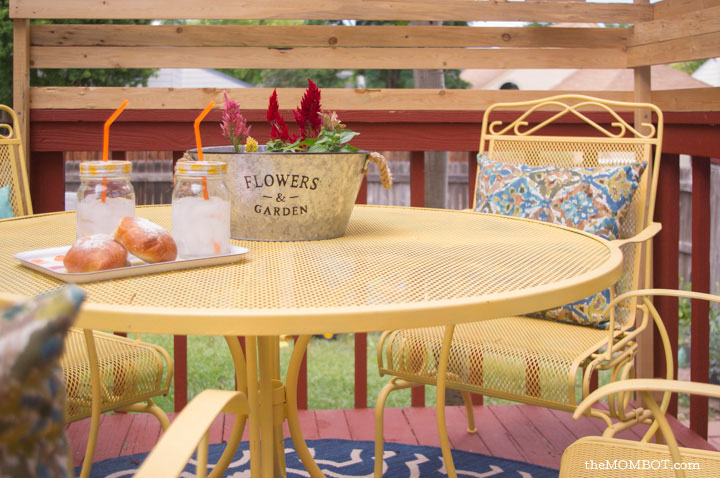

I already owned a couple of blue ikat print outdoor pillows from World Market (this is their second year outside and they still look great), and I picked up two more from Walmart at the start of summer. They are slightly smaller in size, but they were only $5!
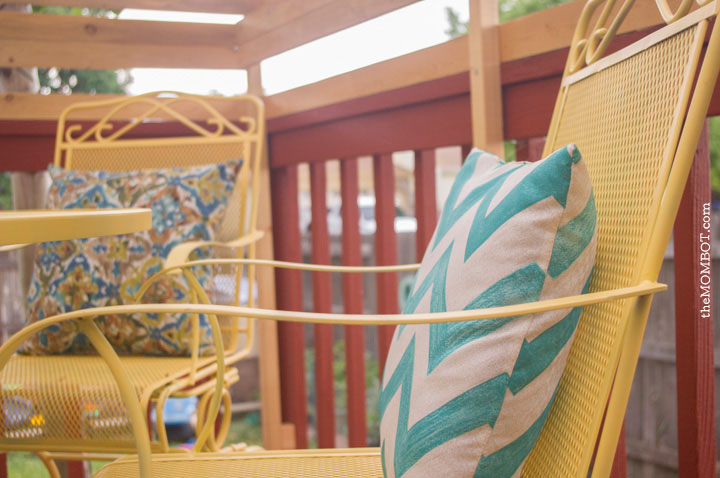
This post is starting to sound like an ad for Walmart, but I swear they had nothing to do it… besides, my blue outdoor rug is from Target, so I don’t discriminate.
After I filled some of my planters with flowers and placed them on my old ladder that I bought at the flea market for $20, this patio started feeling pretty homey.
And I have to say, every since this patio renovation, we’ve spent quite a bit of time outside. It’s perfect in the afternoon because the house shades the patio as the sun is setting, and the kids love playing in their play area while the Mr. and I sip a drink or two. And the neighbors aren’t all up in our business.

Ah, summer. Don’t ever go away!