When I began looking up projects to do for my daughter’s art-themed birthday party, I wanted something simple, age-appropriate (4-7 year olds) and not super messy (I know, I know, but kids + paint gives me a heart attack – even at an art party in a controlled environment made for crafting…).
I knew this canvas project with bleeding tissue paper was the perfect solution. It required very few supplies and was perfect for every age. Kids as young as 2 or 3 could probably handle it with some supervision, and the older kids would be able to put some more thought and effort into their design, crafting something really cool in the end.
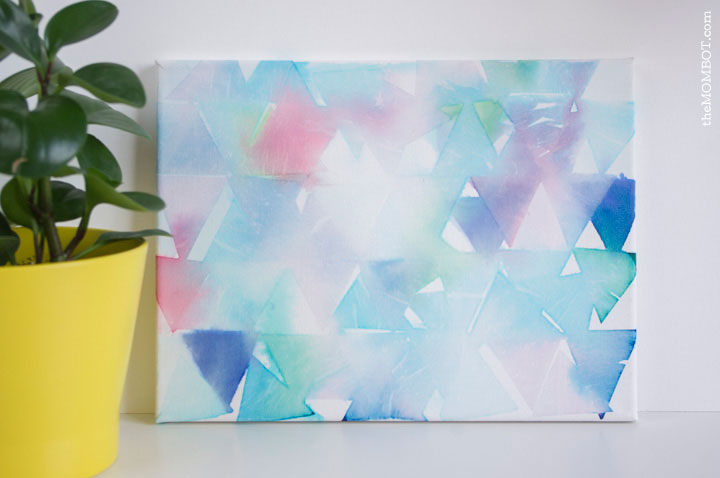
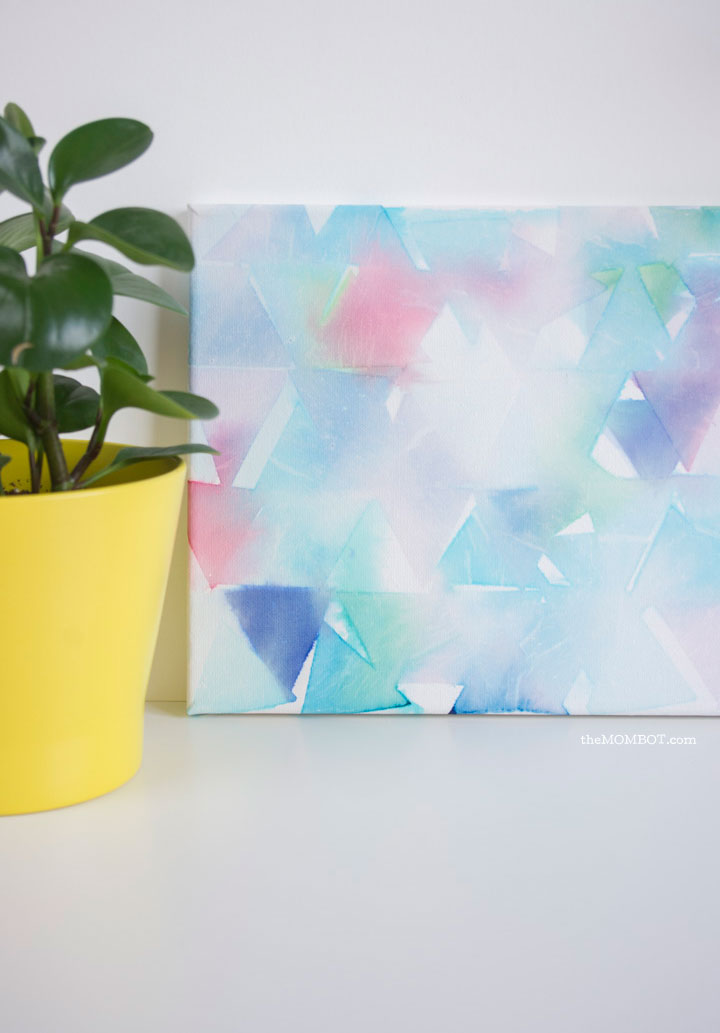
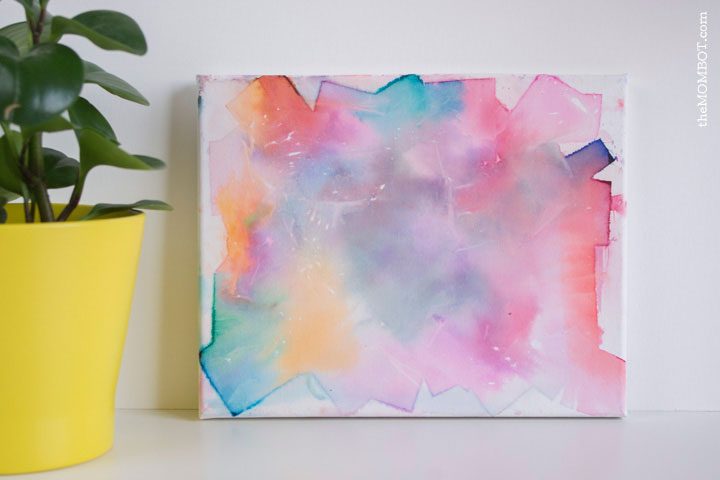
I even had fun making my own sample prior to the party in order to test the method. I loved it so much that I’ve found a spot for it in our living room.
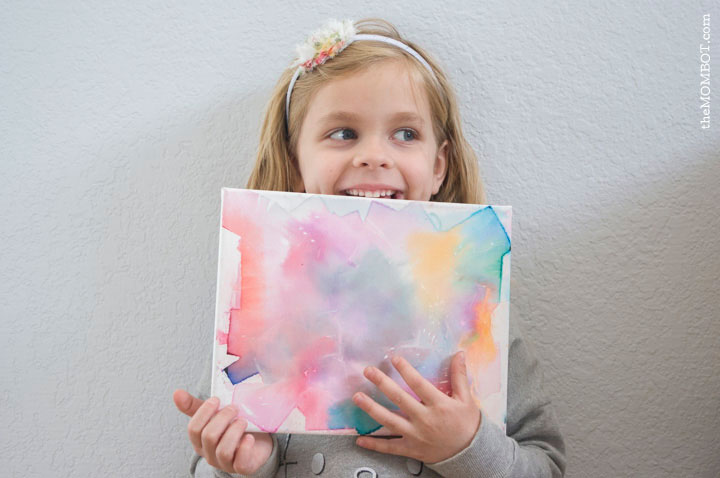
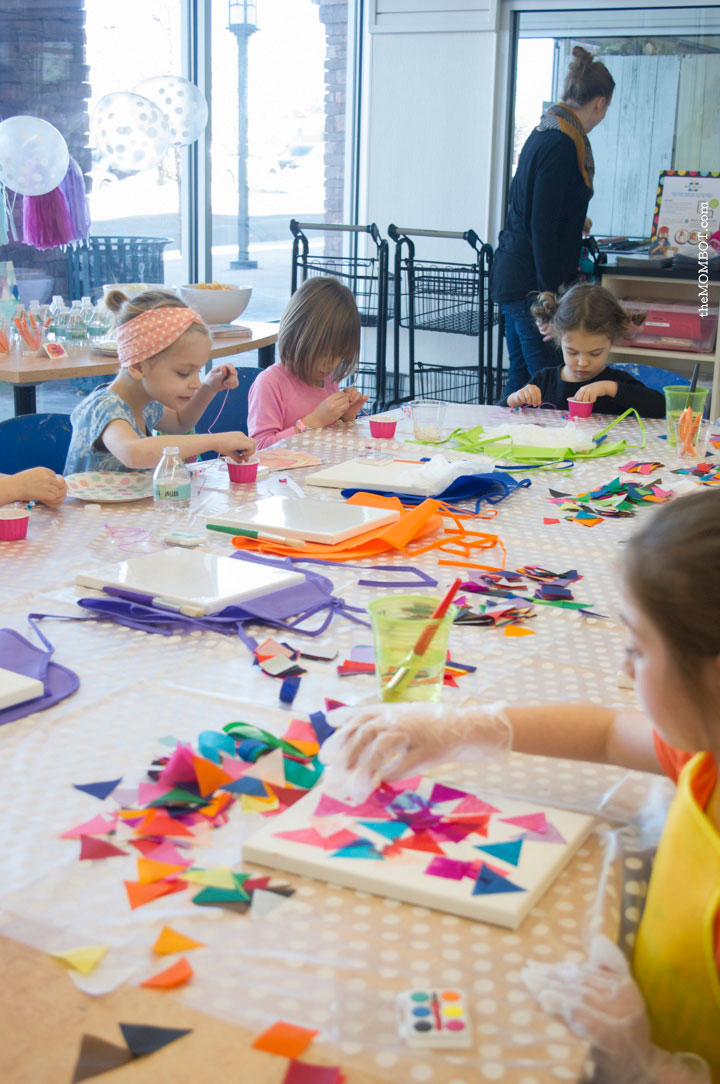
The girls at the party loved it and I think their moms loved it too – I received more than one text message with pictures of their girls with their finished projects! Not only was this perfect for an arts & crafts themed birthday party, but it’s also a great project for rainy days, classroom projects, etc. Kids love the tactile aspect as well as the anticipation of the big reveal at the end (you have to wait for it to dry to see the final results).
The proof is in the pudding:
Want to make your own bleeding art tissue canvases with your kids (or on your own – I make no judgments)? Here’s how it’s done:
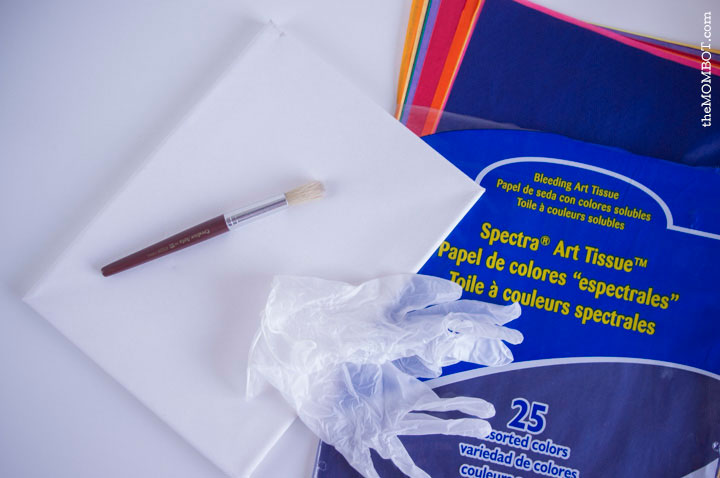
Materials:
- Bleeding art tissue paper (this will NOT work with regular tissue paper)
- Canvas in any size
- Large paintbrush (I love this awesome 10-pack of brushes for kids)
- Water
- Scissors or craft punch
- Latex gloves (optional, but recommended)
- Crafting apron (optional, but recommended)
Process:
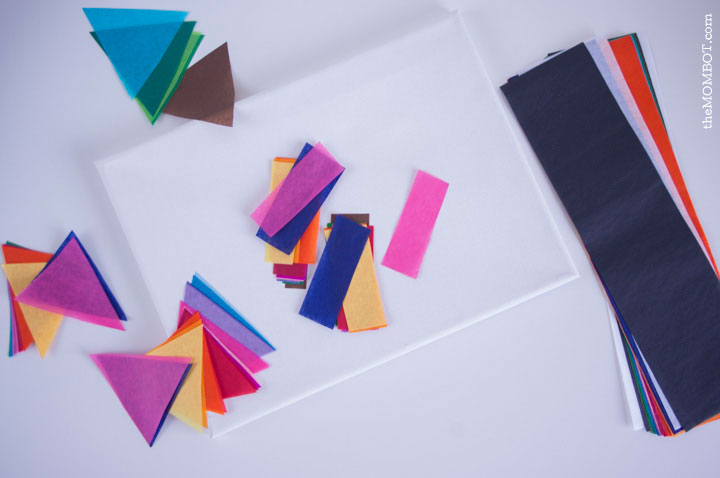
1. Cut shapes from your bleeding art tissue. You can make geometric shapes like rectangles, squares and triangles, or you can use a craft punch to create hexagons, scalloped circles, etc.
2. Using your paintbrush, wet your entire canvas with water.
3. Put on your gloves (If you’re a daredevil and decide to forego, just know that the bleeding art tissue will stain your fingers for a day or two) and begin arranging your shapes on the canvas. The water will soak through the tissue as you work, keeping it in place. If you want to dilute the color more, or if you notice spots were the canvas wasn’t wet enough, you can add more with your paintbrush as you go – but the more you add, the more your colors will fade so be conservative.
4. Allow your canvas to dry completely. As it dries, the tissue will begin to peel up. When it is completely dry, simple remove the tissue paper and throw away. Your color will have transferred to the canvas and left something lovely!
