You guys, I finally finished up Graham’s nursery and got around to taking pictures of it. Luckily I finished before he graduated college (ok, he’s only 3 weeks old, so I’m sort of exaggerating). It was a really long process, and especially difficult because I was simultaneously working on a shared bedroom for our older two kids and I was all prego and tired. But praise Jesus, I finished (though there are always little things popping up that cause me to think, “Hey, I should do that in the nursery!”). Sometimes Pinterest is more of a hindrance than a help…
I am sure in a matter of weeks this room will be a nightmare covered in dirty spit-up rags, laundry and baby toys, so best I take pictures and share them now before my three little hooligans get the best of it.
The inspiration started way back when when I spotted this arrow fabric from Spoonflower.com. The fabric ended up being the priciest item in the entire nursery at $50 for 3 yards. I used a gift card to purchase all the other fabric at JoAnn’s to make the crib bedding, most of the furniture was handed down from babies number 1 and 2, and Target gift cards purchased pretty much everything else; so spending $50 on fabric didn’t seem like too bad of a deal.
You might remember the mood board I put together back in April based on this fabric and the color scheme I was going for. As things progressed, I ended up going much more tribal than originally planned. As I searched Pinterest for ideas on tribal nurseries, I realized it was actually a huge trend right now and I loved all the great inspiration I was finding.
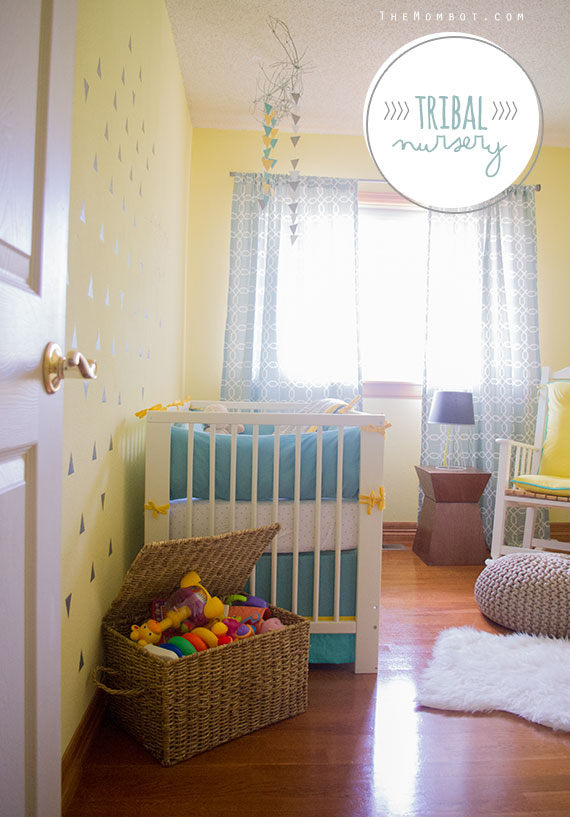
For the most part, I am happy with the overall color scheme, but to be honest I hate the color of these walls; I wish the yellow was a bit happier and less bland. But since we rent, there wasn’t an option to change them so I did my best to disguise them and work them in.
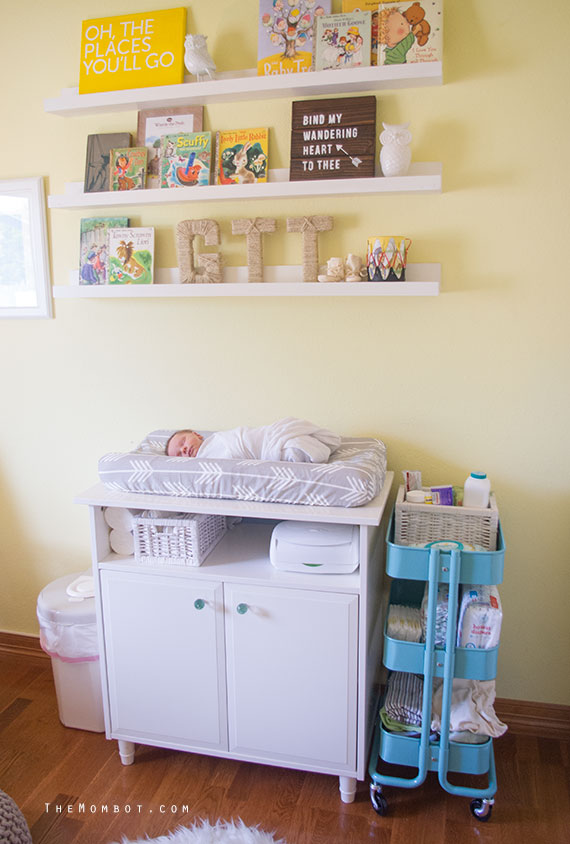
This changing table/cabinet has been around since our first child was born (from Ikea). I updated it a bit with new knobs found at Hobby Lobby and I purchased the rolling cart (also Ikea) to stow diaper supplies and blankets. I made the changing table cover with the arrow fabric from Spoonflower.
These shelves have been up since this was Lincoln’s room and neither myself nor my husband wanted to move them, so we worked around them. They used to house mostly books (as seen here), but I took the opportunity to incorporate some more thematic elements this time around. I created the “Bind my wandering heart to thee” wooden artwork (see DIY here) and I also made the “GTT” initials using paper mache letters from Hobby Lobby, twine and hot glue. The letters were really easy to create, they just took FOREVER.
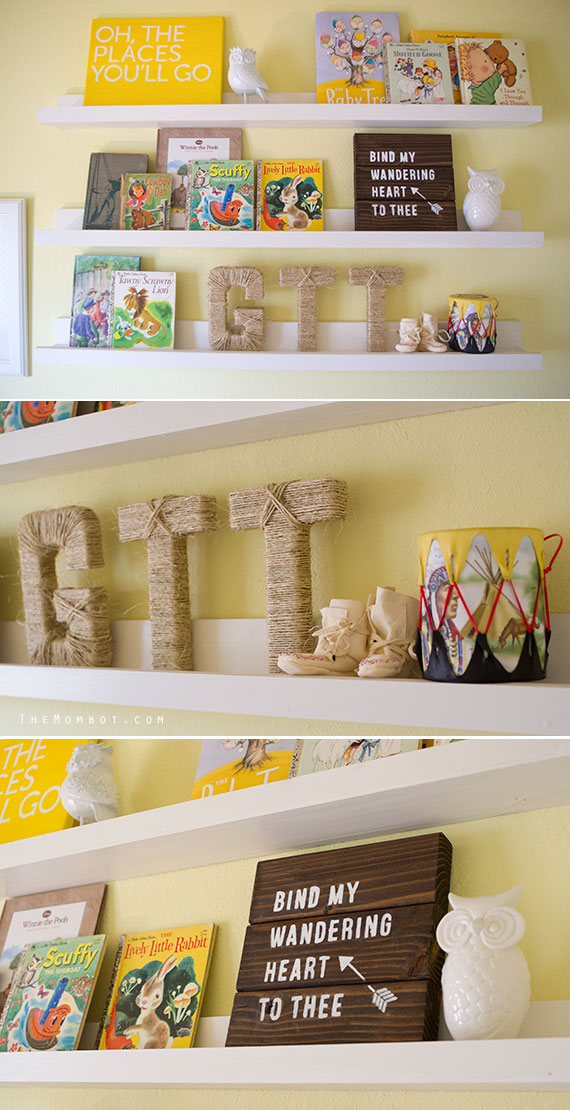
Some of the other goodies on the shelves include an owl from our living room (middle shelf), an owl I found at Hobby Lobby on clearance that I spray painted white (top shelf), an “Oh the Places You’ll Go” print that I made way back when for Mia’s room (see here), a toy drum that we purchased for Lincoln on my first trip to Colorado before we moved here, and moccasins that were handmade by my husband’s aunt for Mia when she was a baby. As you can see, I repurposed a ton of stuff we already owned to fill these shelves; but I love that they all have meaning and a history behind them, and that many of them originally belonged to Graham’s older siblings.
Because the room is small, we decided to put the dresser in the closet; it was a perfect fit and there wasn’t really anything in the closet anyway. My father-in-law purchased and upcycled this adorable mid-century dresser which used to reside in Mia’s room. The drawers are pretty tiny, but it works well for itty bitty onesies.
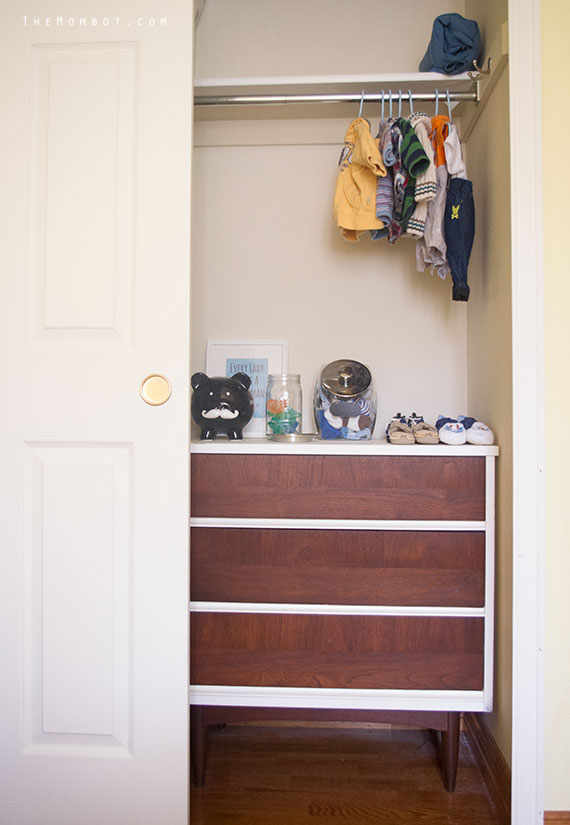
On top of the dresser I am keeping Graham’s shoes, socks, pacifiers and mementos – including an engraved silver plate and spoon given to us by my husband’s work and a piggy bank from Graham’s grandparents.
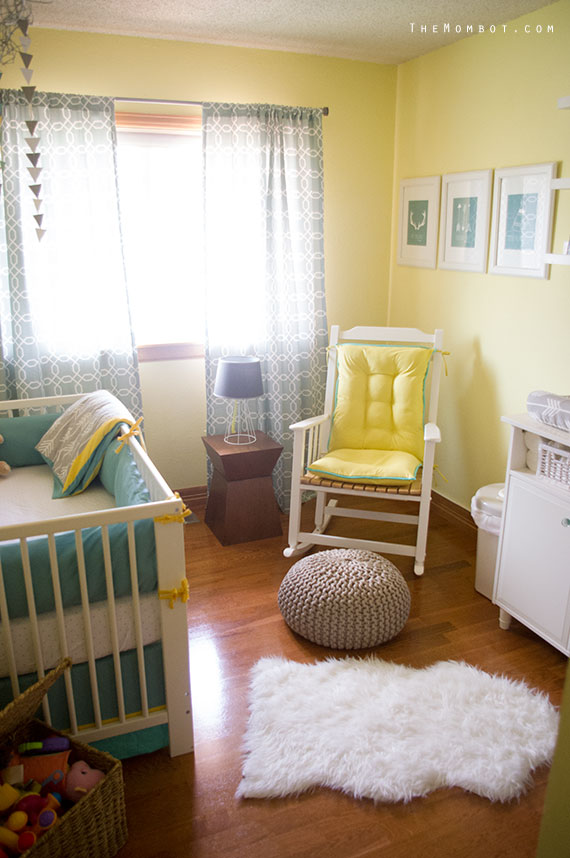
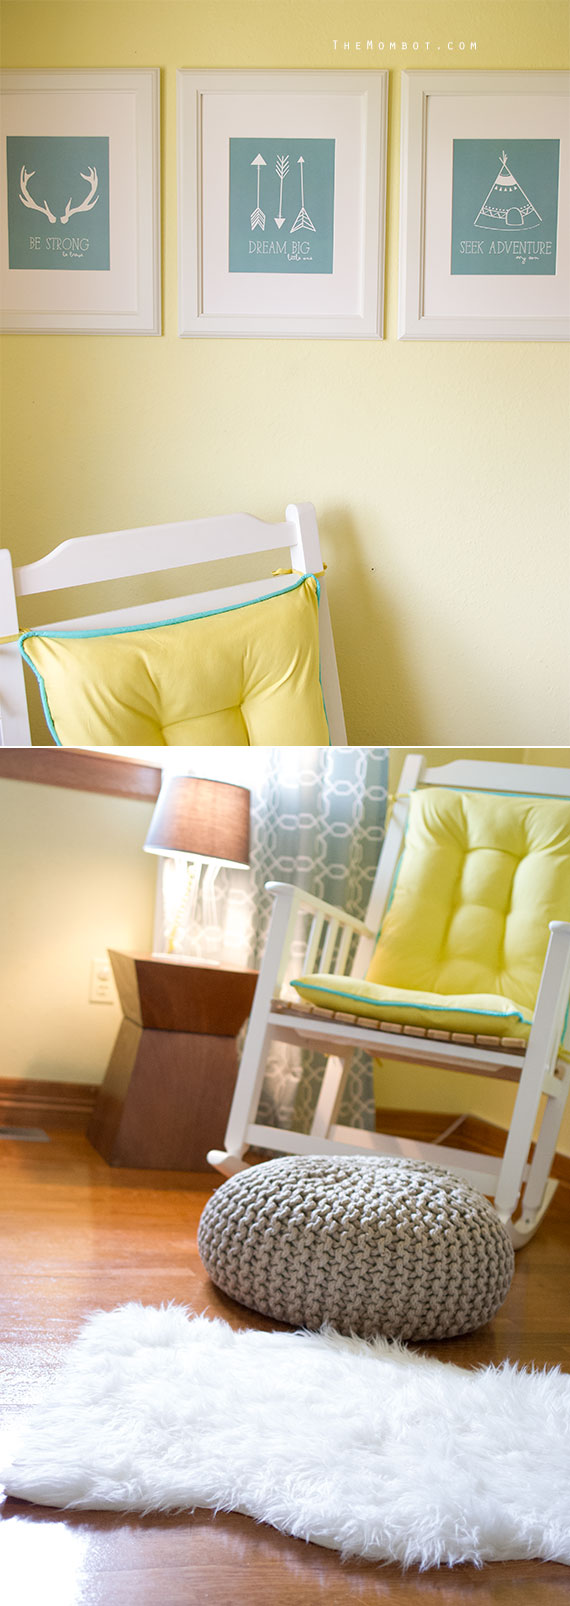
When it comes to DIYing, I spent a lot of time sewing covers for our existing rocking chair cushions from Lincoln’s nursery, as well as all the bedding – comforter, crib skirt and bumper. I hated doing it, but I did save a ton of money and I was able to use the exact colors I wanted. The fitted sheet is from Target.
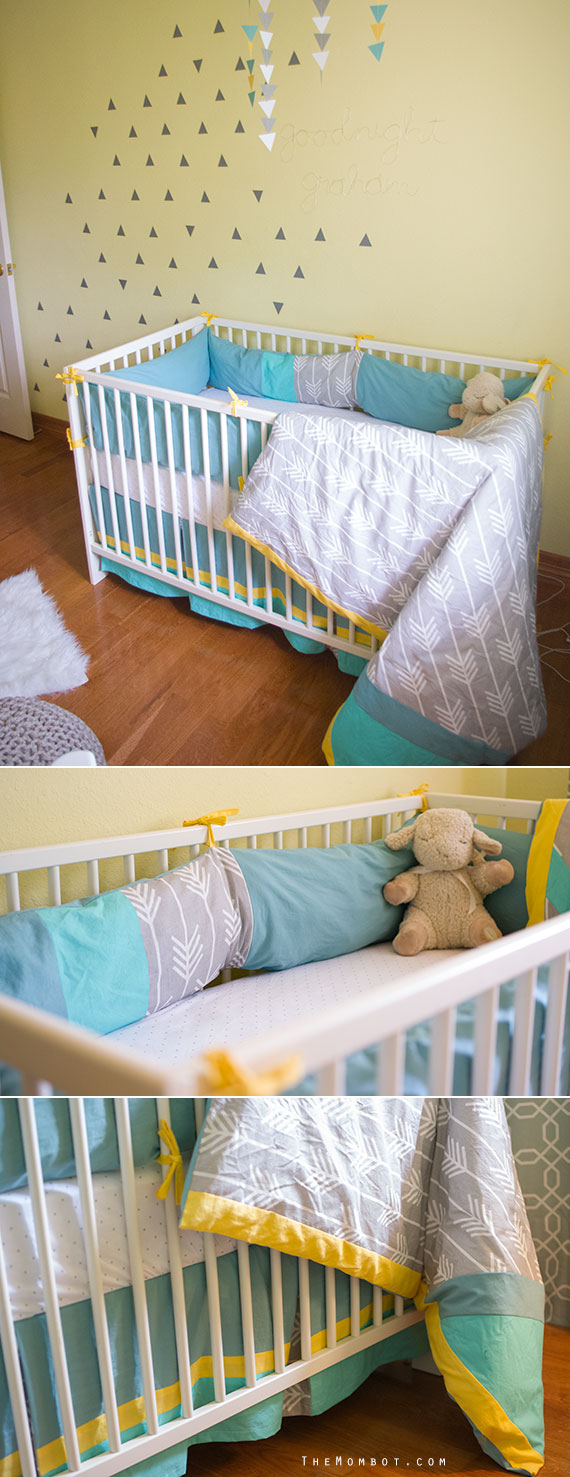
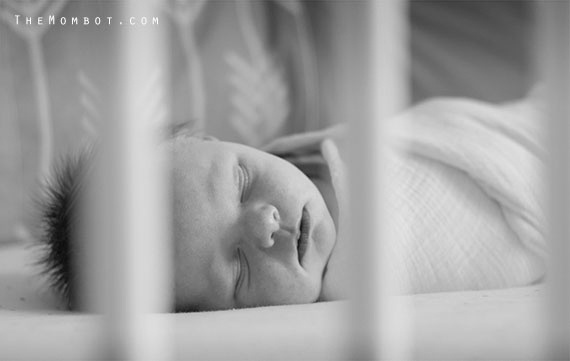
Graham’s pretty happy in his crib, so that’s all that matters.
A few other DIY details came into play around the crib as well. I changed my mind a couple of times on what to do above the crib and finally settled on this manzanita branch that I already owned and was gathering dust in the garage and some triangle garlands made from scrapbook cardstock. I felt like I needed a little more of the nature/tribal element on this side of the room, which is where the idea for the branch came from.
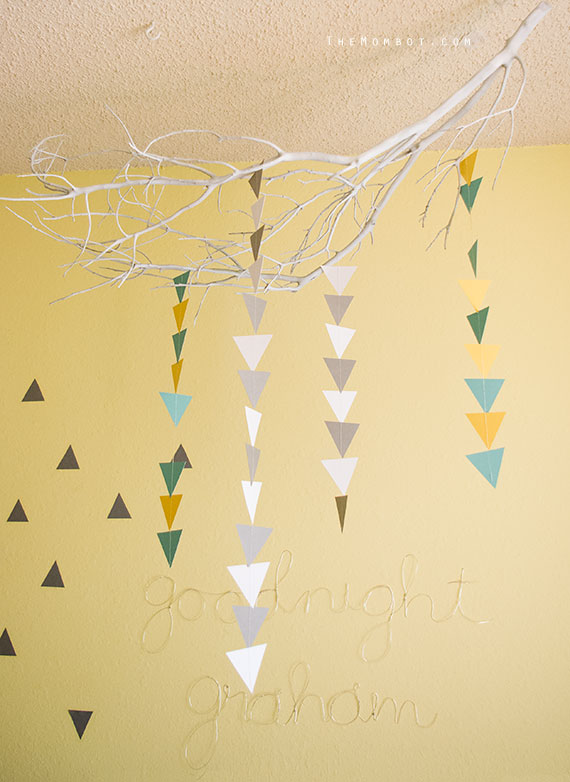
I also knew I wanted to do the wire lettering after seeing this “goodnight” lettering from Anthropologie, so I bought some silver wire at Hobby Lobby and went to work. To get nice round letters, I wrapped the wire around a plastic spice jar. I secured the words to the wall with a few tiny nails.
I was going to order the vinyl triangle decals for the wall on Etsy until I realized I could just buy gray vinyl at the craft store and cut them into triangles on my own (duh). So instead of spending about $25 on them, I spent $4 (for the roll of vinyl using a 40% off coupon at Hobby Lobby). I used a rotary cutter and ruler to cut the triangles.
The final elements of the room include the sheepskin rug (which I purchased for $9.99 at Ikea – score!), the wooden side table by the rocking chair from Target and the tribal artwork that I created for above the rocker (available for purchase in my Etsy shop in several colors). I love the sayings on each print: “Be strong, be brave,” “Dream big, little one,” and “Seek adventure, my son.”
I think that about covers it… I am SO happy that the nursery is complete. I love doing these home projects, but I also breathe a huge sigh of relief when they are done and I can move on to something else. Hopefully my little adventurer likes it just as much as I do.