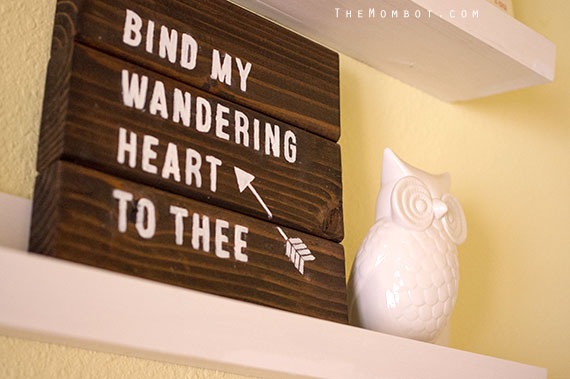
In my quest to find artwork for baby #3’s nursery, I kept coming across this “Bind My Wandering Heart to Thee” wooden art on Pinterest:
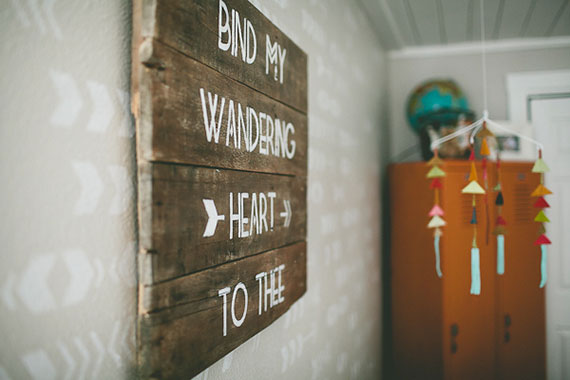
I loved that it is both a bible verse and fits the arrow/tribal theme I’ve got going in the nursery. I figured it would be pretty easy to make on my own, so I decided to attempt it.
Transferring words or images to wood or canvas is a fairly easy process, it’s the painting that takes forever. If I had a Cricut, I could make a stencil and it would take no time at all; but since I don’t, I have to do things the old fashioned way. In the past, I have made canvas art by printing on white contact paper and cutting the words out with an Exact-o knife (see here). Then I just stenciled the words on with paint and it was quick – but the cutting is time consuming.
This time, I decided to use a transfer technique instead. Here’s how to do it:
How to Transfer an Image to Canvas or Wood
1. Create your artwork on your computer in the exact size you want and print.
2. Figure out where you want to position your artwork on your canvas/wood.
3. Color on the backside of your paper with chalk (you could also use a pencil, depending on the color of what you are transferring to – chalk worked best for me this time since my wood was dark and pencil wouldn’t have shown up). Do small sections at a time instead of transferring the entire image so you don’t rub it off as you paint.
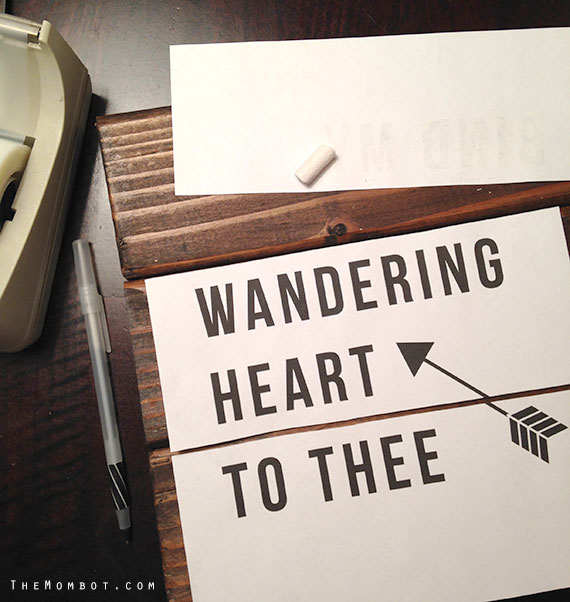
4. Paint inside your transferred artwork.
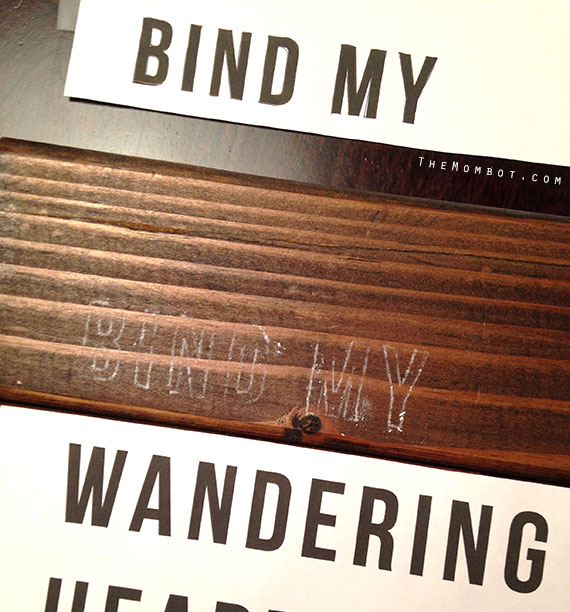
Easy enough, but it did take some time; especially because my font was small and precise.
How to make a wood pallet:
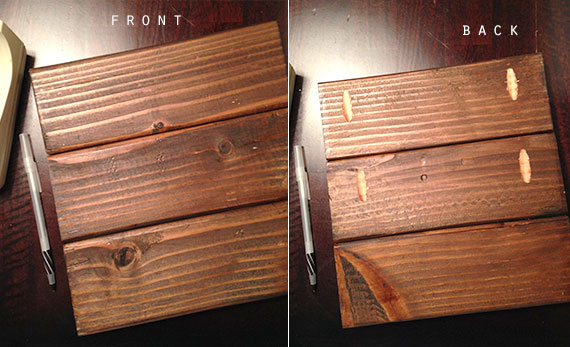
I has some leftover 2×4’s that were already stained from Mia’s bunk bed project. My husband used our Kreg Jig to connect the boards. Alternately, you could use two small wooden tacking strips and attach each board to it with screws. I also saw that Hobby Lobby sells pre-made pallets similar to this for less than $10. If I didn’t already have the wood, I definitely would have gone that root to save time and energy on creating my own!
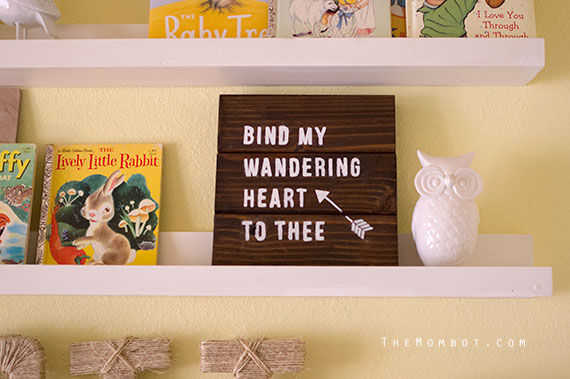
Here’s the finished product:
