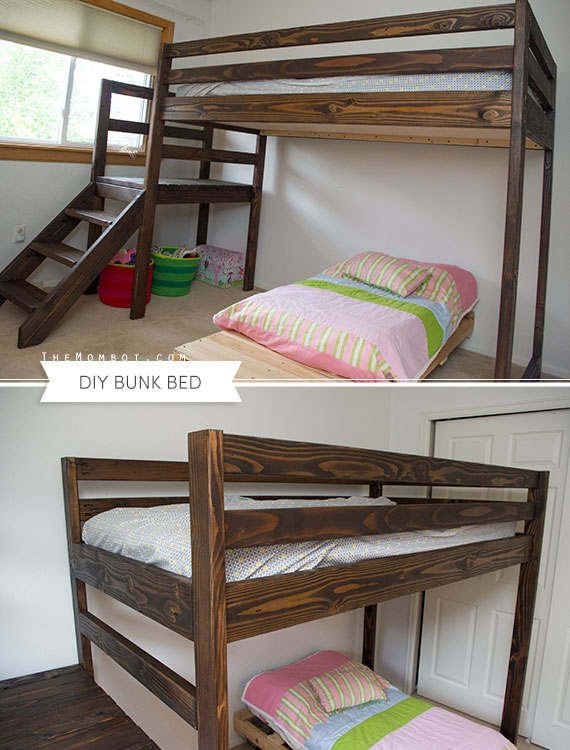
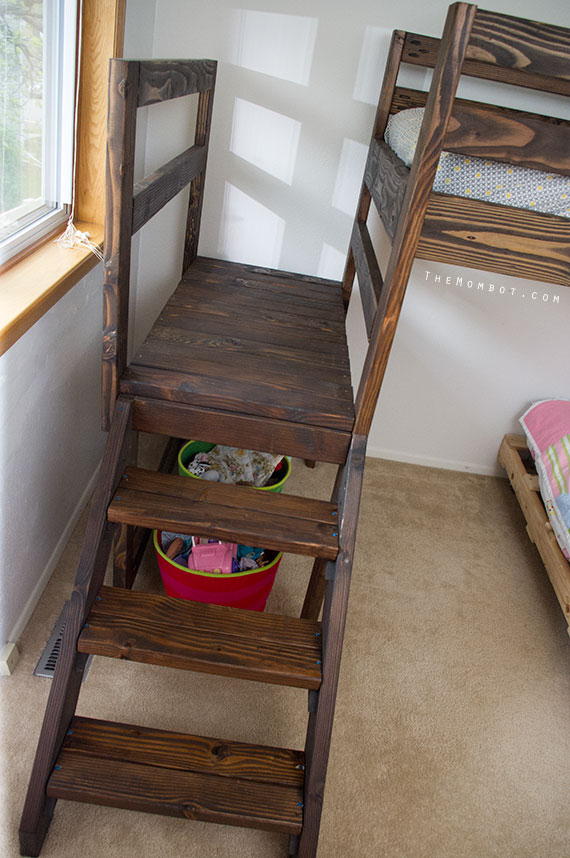
Months ago, I pinned the plans for a DIY bunk bed from Ana White, knowing there might be a day when I would need them. I loved the fact that it was open underneath, allowing room for another bed or play area, and the stairs were a unique feature that I hadn’t seen before. As soon as we found out that we were having baby #3, I knew we were going to need that bed.
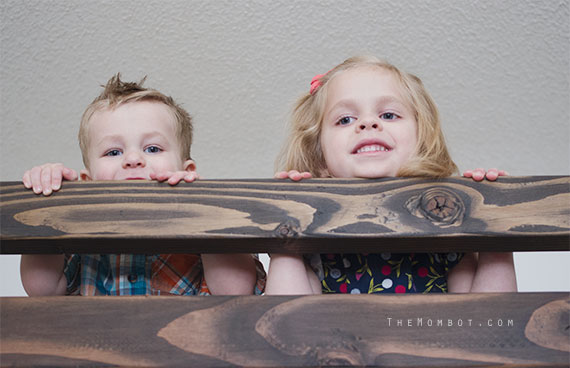
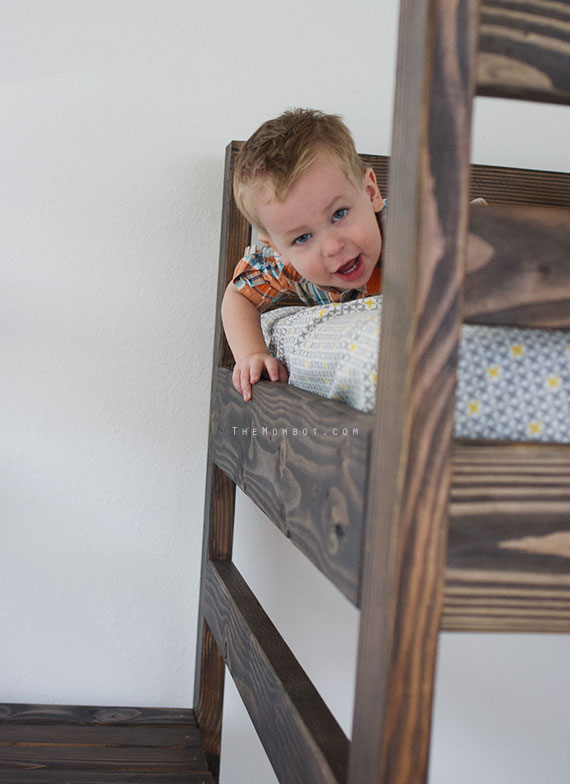
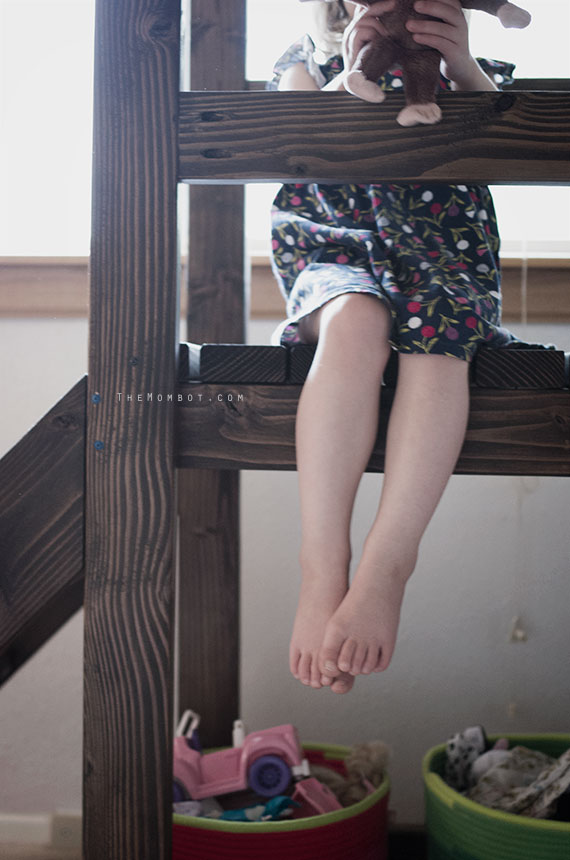
We currently live in a 3-bedroom home so two kids need to share a room. I knew that if we moved Mia and Lincoln in together, this bunk bed would be the perfect way to make the transition. Mia’s DIY pallet toddler bed fits perfectly underneath, and she finally gets a twin-sized bed up top so her brother can use her toddler bed. And as suspected, these kids love every single thing about the bed; they are constantly climbing the stairs and crawling underneath them, laughing and giggling on the twin bed and generally acting nutty.
Because I’m 33 weeks pregnant, I asked my dad and father-in-law to drive in from California to do the building. They were more than happy to do so and I paid them in kind with many home-cooked meals (although I think seeing their grandkids was enough). The project involved more than one hiccup and was much more difficult than we anticipated (especially since this project is marked as “beginner”). If you are interested in building the same bed from these plans, you might want to read my take on it below. If not, feel free to just look at the pictures of my adorable children on their new play structure bed.
My Take on these DIY Bunk Beds
I think we were immediately mislead when we read in Ana’s post that they completed the project in about 2 hours. I am sure this is true, but they also had the right tools, knew how to use them, and (I’m assuming) were not beginners. This also doesn’t include sanding and staining time (obviously). The project ended up taking about 5 days. I was fortunate that my dad and father-in-law were very detail-oriented and sanded each piece of wood and took their time with staining so that the end result is really beautiful. Also, none of us knew was a Kreg Jig was – or that it costs $99. That really upped the price tag on the project; though I will say it was well worth it and we will use it again on future projects. You can’t build this bed without it though, so be ready to spend the money. Buying the Jig also meant learning how to use it, so that added to the building time. Overall, the instructions are quite vague and don’t tell you how to assemble certain parts of the bed. You definitely need some woodworking knowledge and a little bit of guesswork. I was kind of disappointed that they weren’t more thorough, but maybe I’m just not that knowledgable!
Bunk Bed Finish
Minwax pre-stain wood conditioner (I highly recommend using this before staining, it makes for beautiful results) and one coat of Minwax wood stain in Jacobean. Covered with 2 coats of spray polyurethane.
DIY Bunk Bed Cost
We came in around $250 for everything (it would have been $150 if not for having to purchase the Jig, which is an excellent price for a good quality bed, if you ask me). Materials purchased included wood, screws, finishing nails, wood filler, wood pre-stain conditioner, wood stain, polyurethane spray, Kreg Jig, board for under mattress, wood glue and sandpaper – everything else we already owned including a drill, clamps, miter saw and electric sander.
Bunk Bed Modifications
We added a railing to the platform after realizing that the kids could easily fall against the screen on the window and fall out if they were playing too hard and being clumsy (which, knowing my kids, is inevitable). If we ever move somewhere where the platform goes against a wall and not a window, the railing can easily be removed.
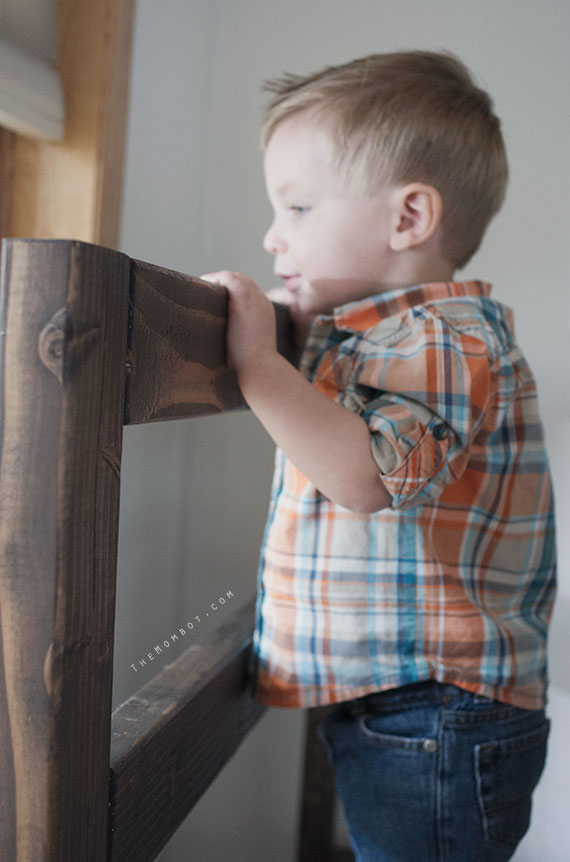
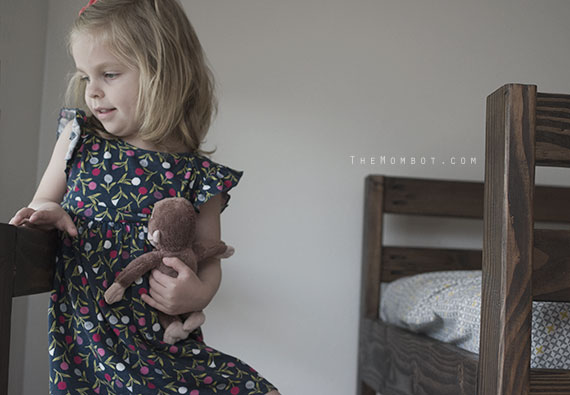
I’ve got to say, I am SO happy with the finished result. The shared room now contains 2 handmade beds and one refinished dresser (from Lincoln’s old nursery), and I love that! Each piece was created with love and made to fit our current situation. One day, Lincoln and his little brother will likely use this DIY bunk bed (which can fit a twin underneath if necessary as they grow) and we will get plenty of mileage out of it.
I still have lots to do with this room and can’t wait to reveal it! It going to have a subtle nautical feel, which I think is very gender neutral and will be lots of fun to work on. (UPDATE: see the nautical room design here)
————–
Disclosure: Post contains affiliate links. Read my full disclosure statement here.