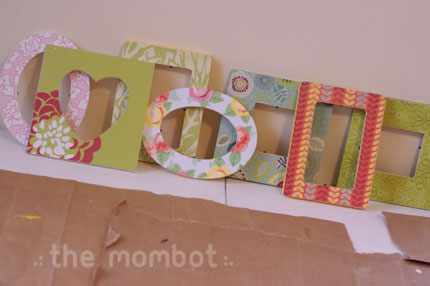
Last Christmas, I used a tutorial I found on Craftily Ever After to make frames covered with wrapping paper and filled them with a family photo for my parents. Since then, I’ve adapted the process a bit and used some different materials to create fun frames that add a bit of character to any room. They’re great to give as gifts, and only cost about $2 each to make, assuming you have some of the materials (they’re even cheaper if you buy materials in bulk and make multiples to have on hand).
Here’s a simple how-to:
Materials:
- Mod Podge
- Wooden Frame (Michael’s sells different shapes for only $1)
- Scrapbook or wrapping paper
- Coordinating paint
1. Paint the sides and back of your frame. It doesn’t matter if you get some on the front, because you will be covering this with paper later. You might also want to paint the inside lip of the frame.
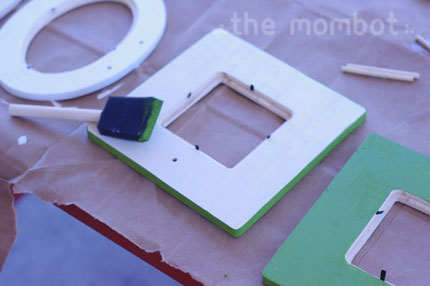
2. Lay your painted frame on top of the paper you will be covering it with and cut around the edges. You can leave 1/2” – 1” of excess and your cut doesn’t have to be smooth. We will be getting rid of this later.
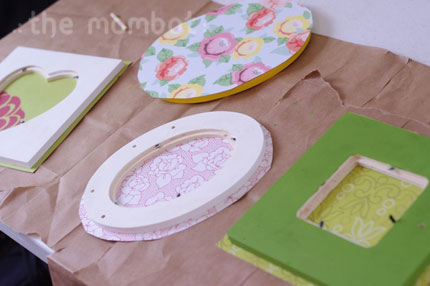
3. Using an X-acto knife (or by opening your scissors and using one blade), cut out the center of the paper where the opening of your frame is. Again, this cut doesn’t have to be pretty.
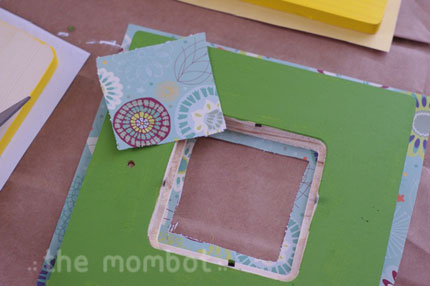
4. Cover the front of your frame with a smooth layer of mod podge. Lay your paper on top of your frame. Using a credit card (or something similar), smooth the paper out, making sure to get all the air bubbles out; I like to do this a couple of times in the first 5 minutes of drying, just to be sure I got all the bubbles. Let dry for about an hour.
5. Using sand paper (or even an old nail file – a helpful tip from Craftily Ever After!) sand the edges of your paper off. It helps to fold the paper slightly before filing. If you sand at a 45 degree angle, the paper comes right off with a few swipes and you’re left with a clean edge! Do the same for the inside of the frame.
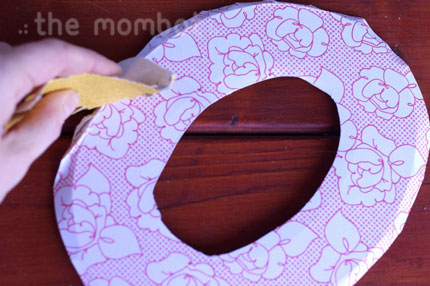
6. Optional: Using sand paper, sand the sides and back of the frame slightly to give your paint a “distressed” look. Wipe with cloth to remove dust.
7. Cover the paper on the front, the sides, and the back of the frame with mod podge. This will leave a glossy, protective layer over the frame, extending it’s life.
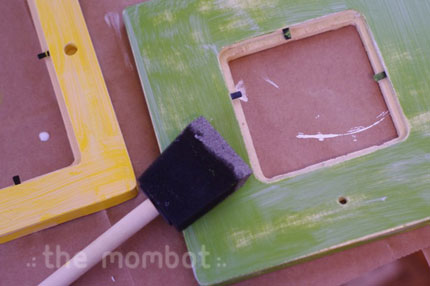
8. Fill the frame, and you’re done!
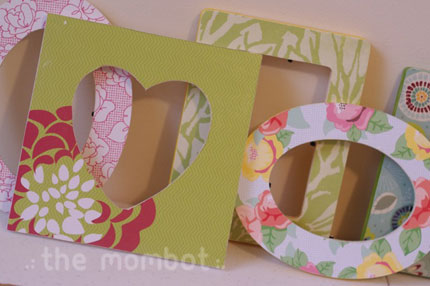
The heart frame was made with leftover paper from my Project Life kit; so cute!
Linked up at:

