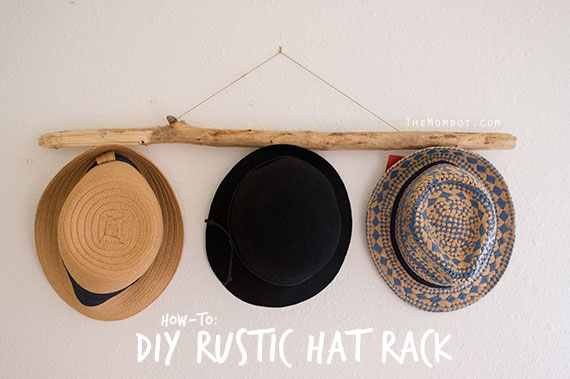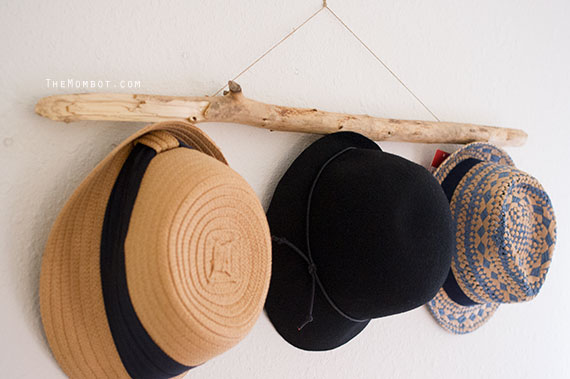
I’ve slowly been accumulating hats ever since we moved to Colorado. It tends to get super windy out of nowhere and I HATE the wind; for several reasons, really – like it gives me a headache, but also because it messes up my hair (duh). So I’ve invested in a couple of hats to help on bad hair days/windy days. But where to put them?
I’ve got a cloth and straw cloche hat (seen here) that will get crushed if simply thrown on a shelf or in a drawer, so I knew hanging them up would be the best option for longevity and to keep their shape. And with that, I decided to search for some ideas on how to artistically hang them in my bedroom.

I liked the idea of a rustic looking branch rack after seeing some different versions, so now I just needed to go in search of the perfect branch. When I went out to the garage the next day to throw out the trash and just happened to see a branch sitting there that was the perfect size, it was kismet!

I already had nails, twine and thumbtacks and I picked up some white hooks at Target to complete the project. Here’s how it came together:
Rustic branch hat rack how-to:
Materials:
- 1 branch (mine is 32″ in length and comfortably fits 3 hats)
- 2 thumbtacks
- Twine in desired length
- Nails
- Hooks in desired size
How-to:
- Figure out which side of the branch will sit flush against the wall the best and make this your “back.” You may even want to sand it down a bit to create some flat spots, but don’t sand too much! The more it sticks out from the way, the easier your hats will hang.
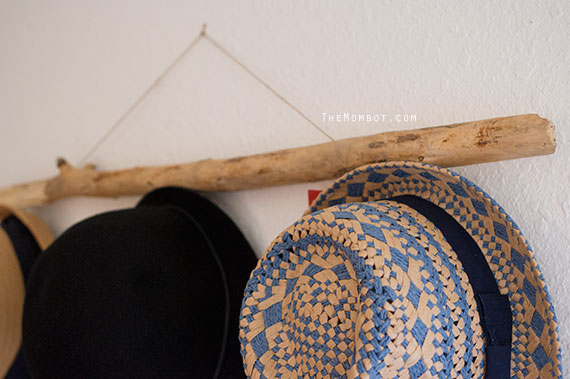
- Put two knots in each end of your length of twine and push a thumbtack through the knot and into the back side of your branch. Mine is about 8″ in from either end of the branch.
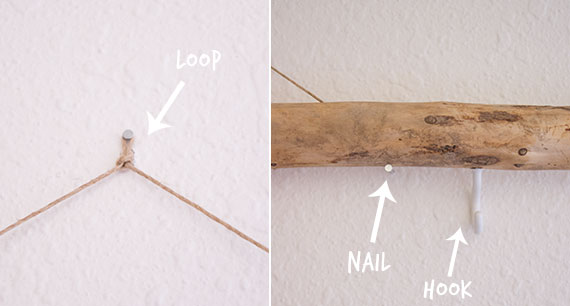
- Make a tiny loop in the center of your twine to hang over a nail (find center of twine and pinch together, tie knot leaving a loop at end).
- Screw your hooks into the bottom edge of your branch, evenly spaced (mine are 10″ apart to allow for room between hats and each end hook is 5″ in from end of branch).
- Hang your new hat rack with a single nail going through the loop in the twine.
- You’ll probably want to stabilize your branch if it’s lightweight like mine, otherwise when you remove a hat from one end, the other end pops up because it’s no longer balanced (I learned this the hard way). To stabilize it, place two small nails under the bottom of the branch to support the weight of each end. You can place them close to the end hooks so that they won’t be seen when hats are hanging.

Considering this project only cost me a couple of dollars (for the hooks), I am super pleased! And now my hats are safely stored away until the next windy day (I didn’t mean to rhyme that, I swear).
