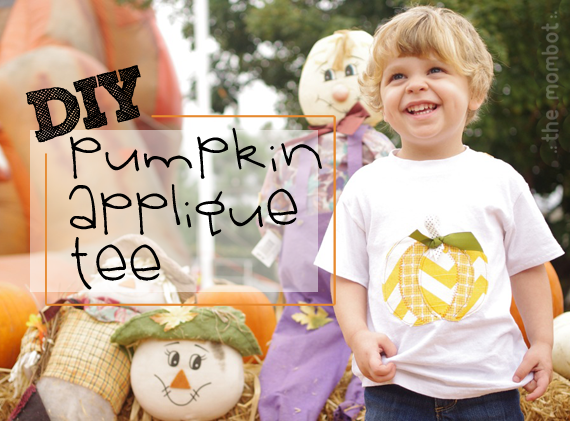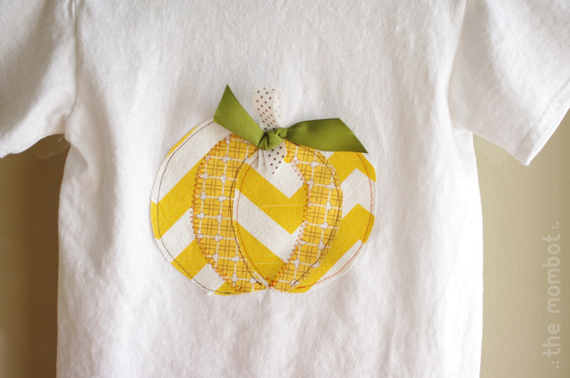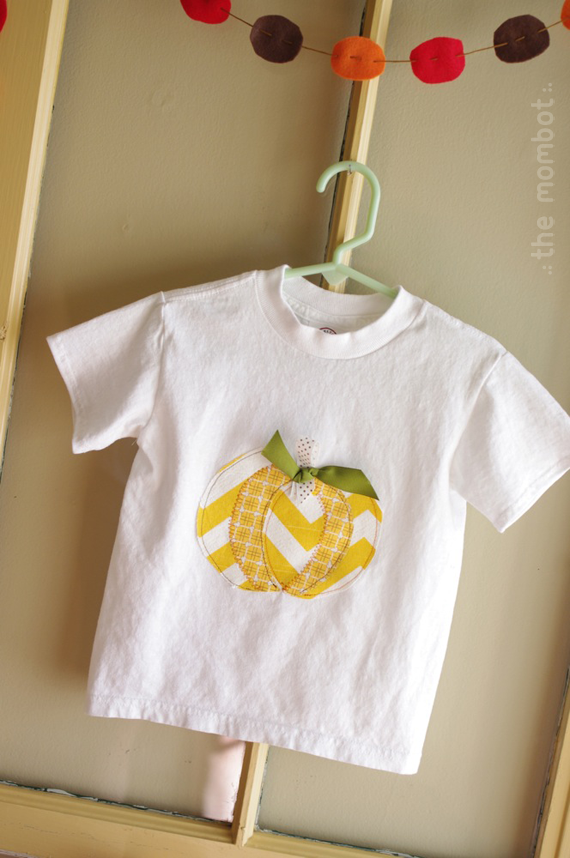
We were headed to the pumpkin patch this weekend and I decided at the last minute that I wanted my daughter to wear something festive. She didn’t own anything orange, black, or fall looking, so I ran to the Dollar Tree and picked up a white tee shirt for $1. Then I created my own pumpkin applique and whipped up a cute shirt in about 30 minutes.
Unfortunately the tee shirt is a little big for her because they didn’t have her size, but it turned out cute anyway – and now she can probably wear it next year too! If you’ve got some fabric scraps and fusible webbing in your stash like I did, you can make one for only a dollar too.
No-Sew DIY Pumpkin Applique Tee Tutorial

Materials:
- T-shirt (check the Dollar Tree)
- Fusible webbing
- Fabric scraps
- Pumpkin applique pattern (DOWNLOAD HERE)
- Coordinating thread
Instructions:
1. Print out the pumpkin applique and cut out pieces. I used ribbon for the stem and leaves, but I’ve also included pattern pieces if you want to applique them instead. Pieces #1 & #2 should be cut out of a coordinating fabric, different from what you cut the whole pumpkin piece from. The dotted lines on the pumpkin show you where you will place pieces #1 & #2 once cut.
2. After you’ve cut out your pieces, cut out and attach fusible webbing to all pieces. Iron pieces #1 & #2 onto your pumpkin in the spots indicated. Iron your pumpkin, stem, and leaf (if using fabric) onto your tee shirt.
3. Optional: Use coordinating thread and a variety of stitches and sew around each piece of the applique. I used a straight stitch and a zigzag stitch, and both orange and brown thread.
Now, tell me that wasn’t easy?
Tips:
- Don’t have a stash of fabric scraps? Start one by holding onto any old clothing that you might otherwise throw away or sell. If you like the fabric, you can turn it into something great later.
- Don’t have a sewing machine (or are intimidated by the one you do own)? You can still make this tee shirt, just skip step 3 or stitch by hand.

