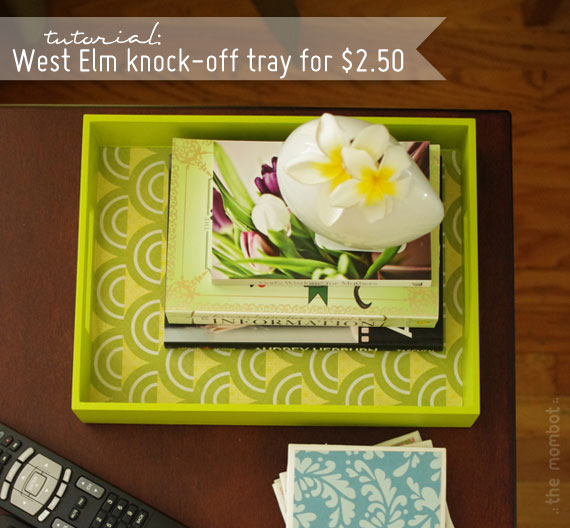
I am such a big fan of the Target $1 section (is that what it’s still called even though they have $2.50 objects?).
This last Christmas I found the perfect wooden manger to add to my existing nativity for only $2.50, and I’ve also scored several vases that I have upcycled with a little spraypaint for only $1. We live on a tight budget and buying home décor is usually last on the list, so when I can take these little shortcuts, I get a little overexcited – just ask my husband.
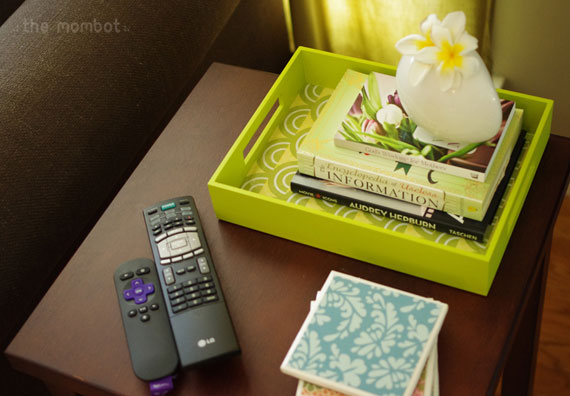
This week I was elated to find wooden trays in the $1 section for $2.50 (see, that’s confusing, isn’t it?). I’ve had my eye on trays for my end table ever since I spotted them in the West Elm catalog; I just didn’t feel like paying $30 for one. So I picked one up at Target for $2.50, and used my good ole mod podge and some scrapbook paper (stuff I already had) to make it look a little more expensive. I think the West Elm trays are painted on the inside, which I could have also done, but I just went with the coordinating paper instead.
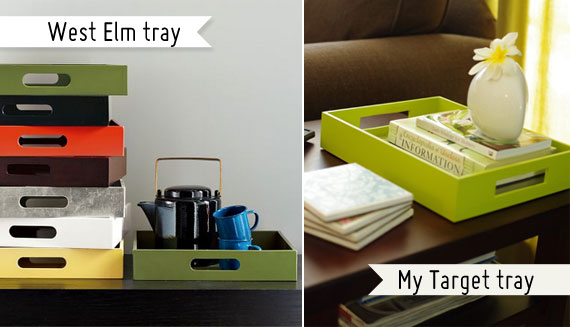
Here’s how I made it happen:
Materials
- Wooden tray ($2.50 at Target – they come in black, green, and brown, or you can just spraypaint one the color you desire)
- Mod podge
- Scrapbook paper
- Foam brush
- Polyurethane spray (optional)
- Felt circles (optional)
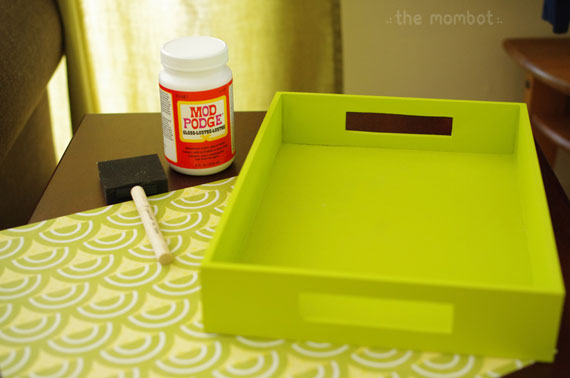
What to do:
1. Clean your tray with a wet rag to make sure there’s no dirt or dust on it.
2. Cut your scrapbook paper to fit the bottom of the tray.
3. Apply a generous layer of mod podge to the bottom of your tray, and carefully place your scrapbook paper on top. Smooth it out (starting from the center and working your way out) to get rid of any air bubbles; make sure to smooth all the way to the edges. I used a credit card to smooth the paper and get out all the bubbles.
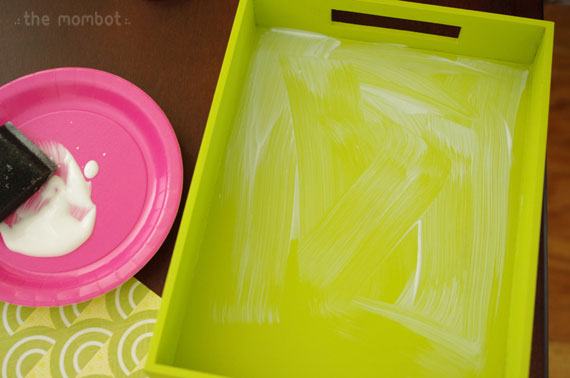
4. Apply a thin layer of mod podge on top of the paper, and seal all the edges.
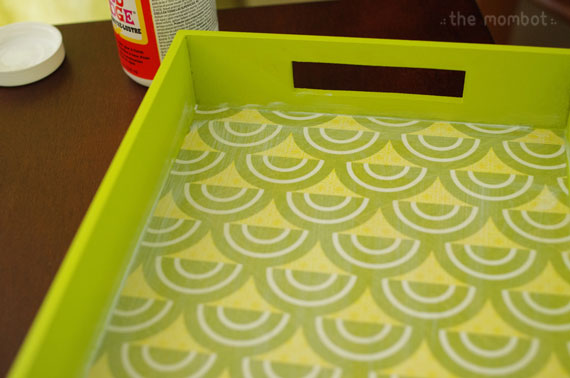
5. Let dry.
Optional: Once it’s dry, apply 1-2 coats of polyurethane. This will help it hold up better, especially if it get wets for any reason.
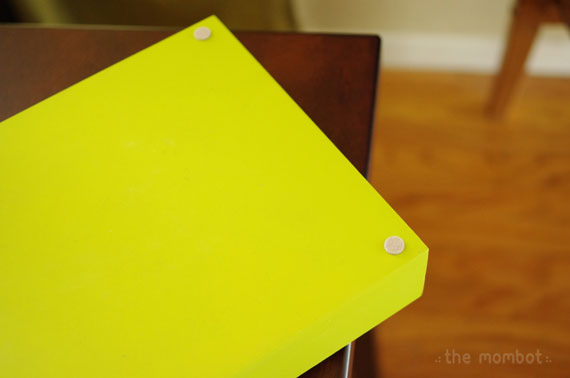
Optional: Add felt circles to the bottom of the try to it doesn’t scratch your surface.
Linked to: Tip Junkie’s Tip Me Tuesday
