I talked about my desire to simplify in 2017 when I blogged about my daughter’s birthday party and how I threw all the rules of today’s party-throwing society out the window. It was the opposite of Pinteresty and it was entirely put together with Target goods and Papa Murphy’s pizza. It was glorious.
That’s just one example of how I’m trying to pare down and really simplify as of late. Another way I’m attacking this is with toy organization – it is a constant and ever changing battle. I have changed up the way we store our toys about 900 times, always in search of something easier – and sometimes I actually succeed.
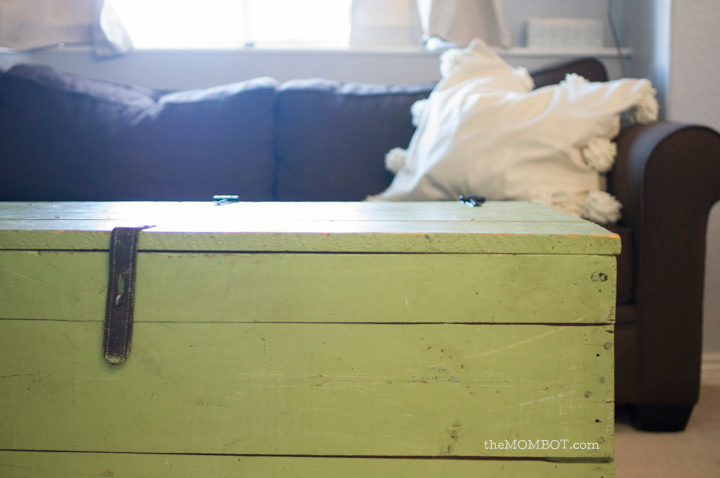
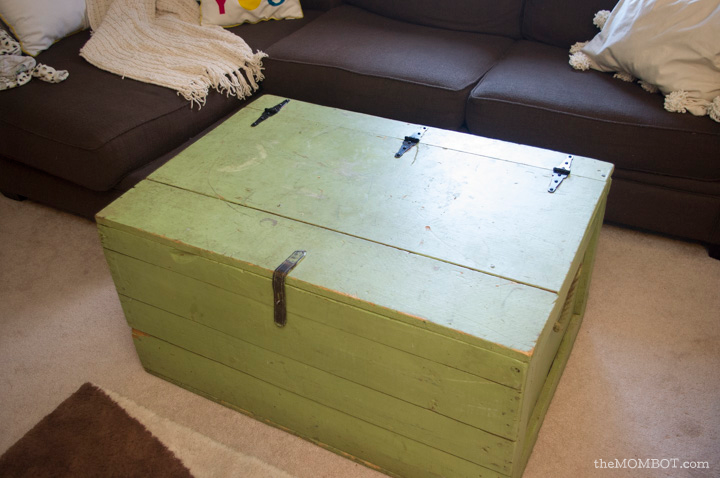
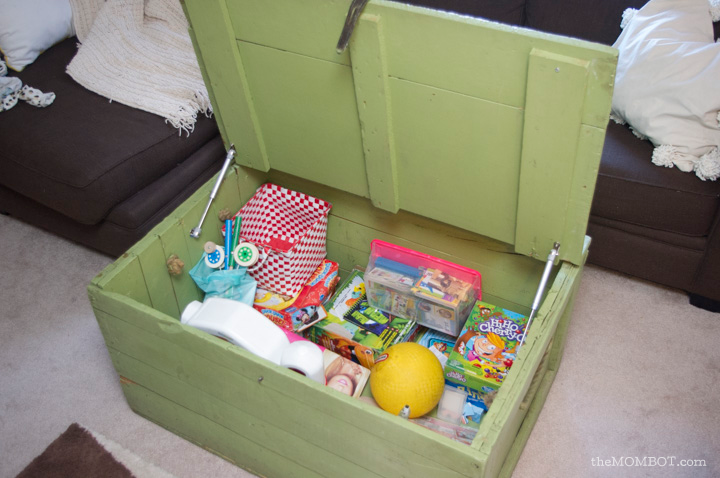
I hate toy clutter, and so bins and baskets are my best friends. A real game changer for us was scoring this massive trunk for our living room, which holds the majority of our large toys and the things I don’t want my 2 1/2 year old getting into and also doubles as a coffee table.
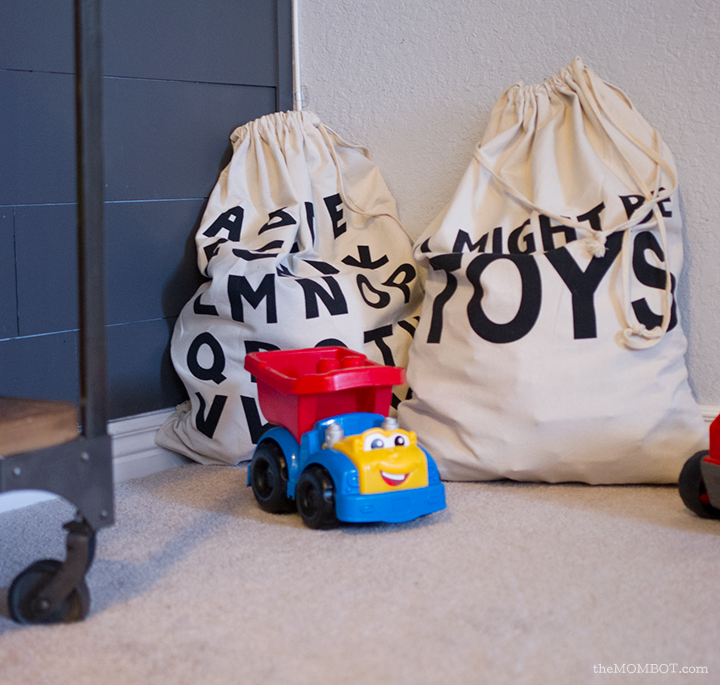
I also store puzzles and Legos/Mega Bloks in these drawstring toy bags that I bought as deal on Pick Your Plum (I don’t know who makes them or where they are sold, otherwise I would pass it on!).
At the beginning of the year, I did a toy overhaul in the kids’ room and organized the heck out of it and threw away/gave away a ton of stuff. It was so freeing and has really helped in the clean-up process as well, thanks to some organization tricks.
If you are sick of stepping on toys and seeing toys and generally barely tolerating toys, here are some tips and inspiration for decluttering, simplifying and organizing this year.
[ 1. Clean out and give away. ]
The best place to start is with a good, clean sweep. Get rid of the junk – i.e. the toys that are broken, the toys that are no longer age appropriate, the toys that came from a fast food meal, the toys that never get touched (which, some could argue, is ALL OF THEM)… You might even consider packing away half of the toys and switching them out from time to time. I actually wrote about this method four years ago based on a book called Simplicity Parenting.
[ 2. Sort and Organize ]
Find baskets, bins, storage crates, whatever you can. And ORGANIZE. When I overhauled my kids’ joint bedroom, I began organizing things into piles and realized that majority of their toys fit into 4 categories (action figures, Mia’s toys, tools, and doctor’s kit). And of course, these things weren’t getting played with very often because who wants to play with one stethoscope or one action figure? The odds and ends went into the bottom bins, stuffed animals went into the baskets on the wall, Barbies into the bin on the right and the big stuff went up on top (you know, like that obnoxiously giant horse).
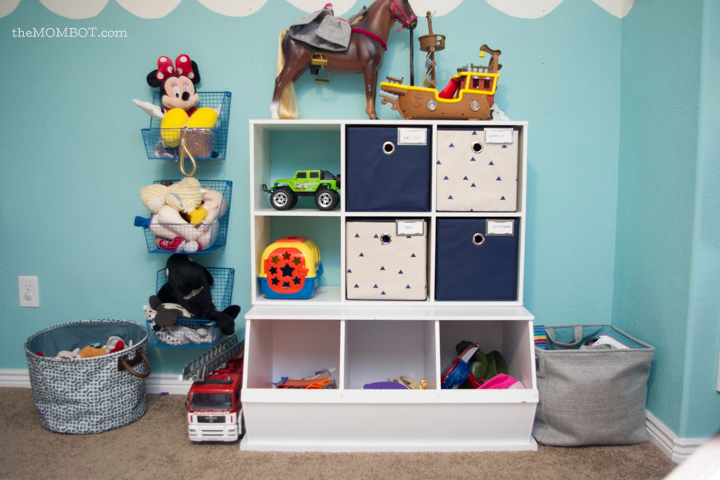
Ikea is definitely one of the best places to get a shelving unit to use for toy storage. We used a similar cube unit from ClosetMaid that I’ve had for years (like 8+ years…) stacked on top of and a 3-bin unit bought on Amazon for only $70 (we’ve had this since the playroom we put together at our last house – it is a total Land of Nod knock off, but has served us well at a fraction of the price). The fabric bins and labels are from Target.
Walmart also makes some great, similar storage units made by Better Homes & Gardens like this blogger used:
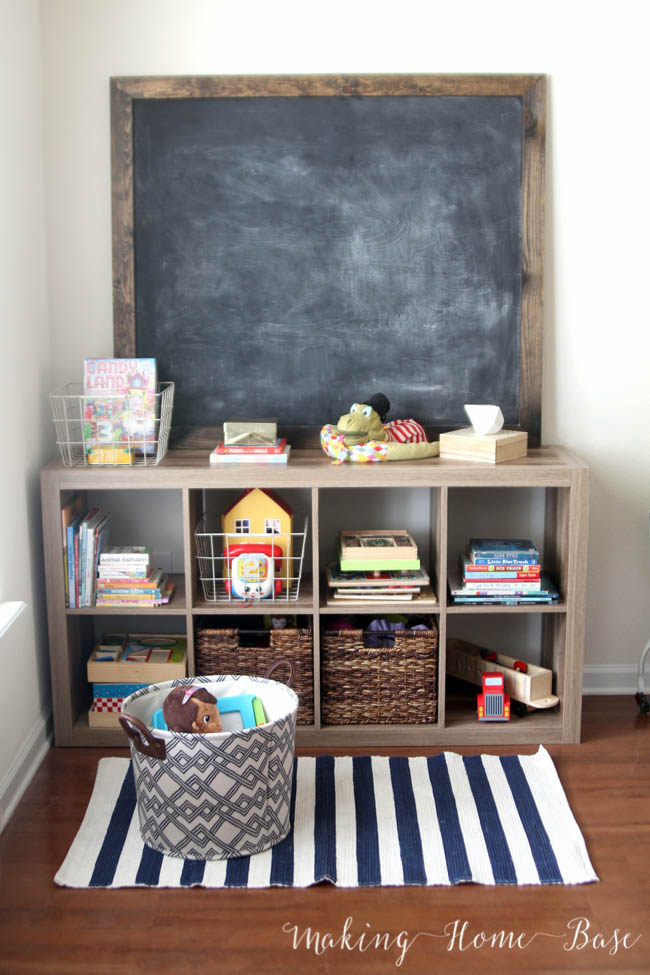
(source: makinghomebase.com)
Storage crates can create excellent freestanding storage units as well:
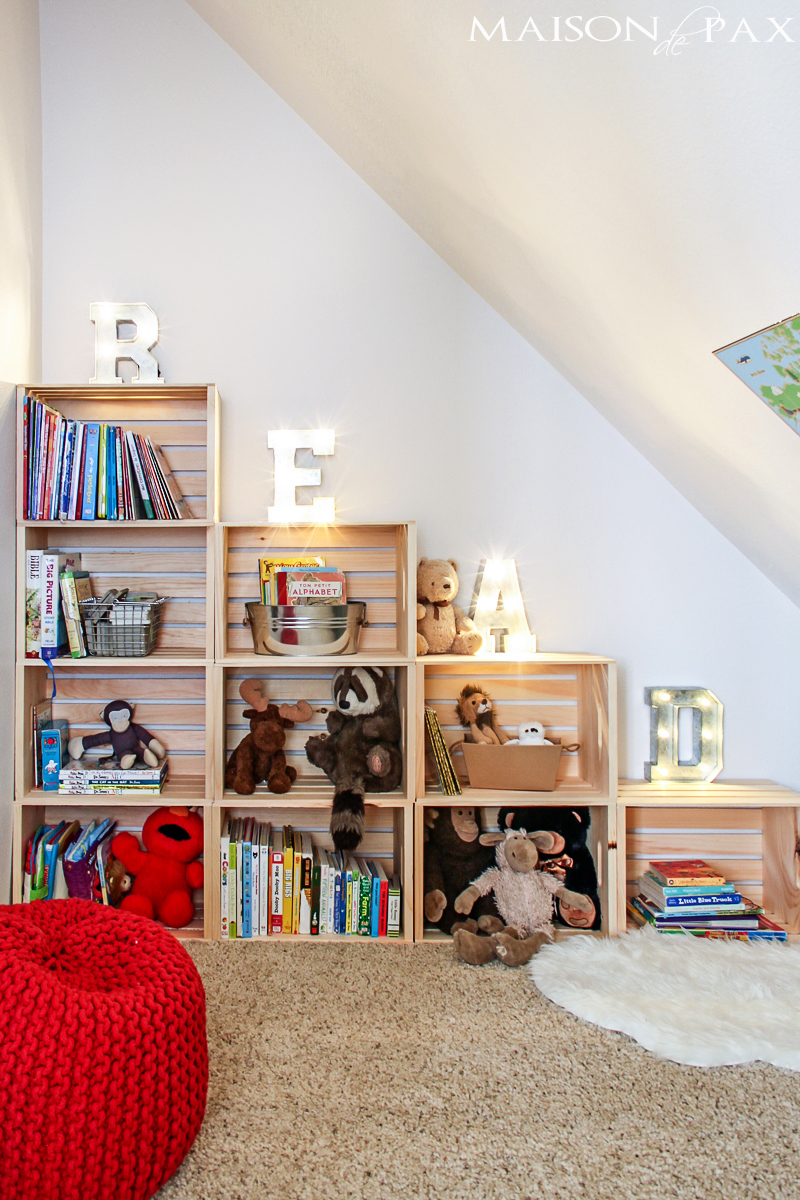
(source: maisondepax.com)
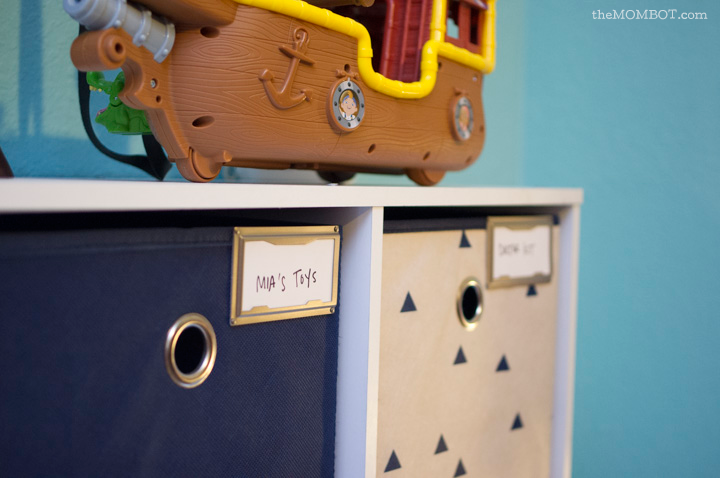
[ 3. Label Bins ]
I’ve never really labeled my bins before, but I realized after doing it how easy it made cleaning up for my kids. They actually put things in their place now and are less frazzled when a massive clean-up needs to occur. They know how to sort their piles and place them in their appropriate bins… who knew this would work so well?
This blogger has got sorting and labeling mastered:
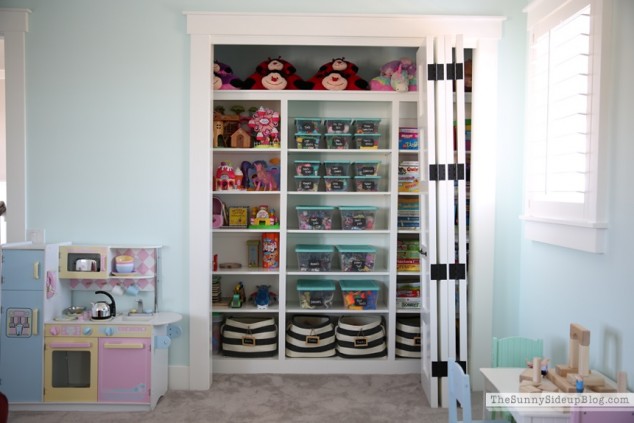
(source: thesunnysideupblog.com)
Here’s another great, really easy way to sort and label using crates from Target and chalkboard labels:
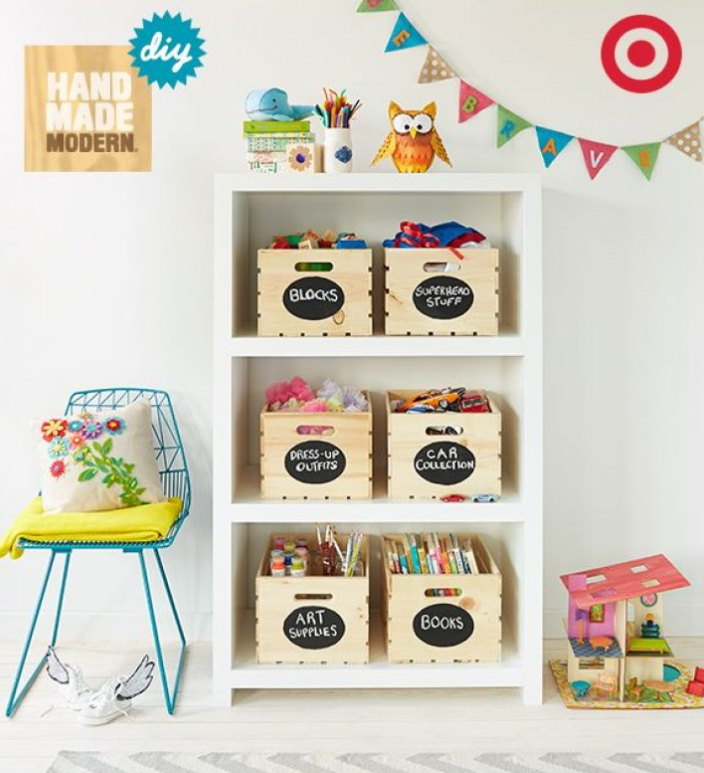
(source: mommodesign.com)
[ 4. Use dual purpose furniture. ]
For us, it was the dual purpose coffee table I mentioned earlier that made a huge difference in organizing. But you can also find great storage in seating.
This table and stools set from Shabby2Chic is genius! The stools double as storage and there is a storage shelf under the table.
 (source: shanty-2-chic.com)
Plenty of benches also work as storage units as well; here’s just one awesome example:
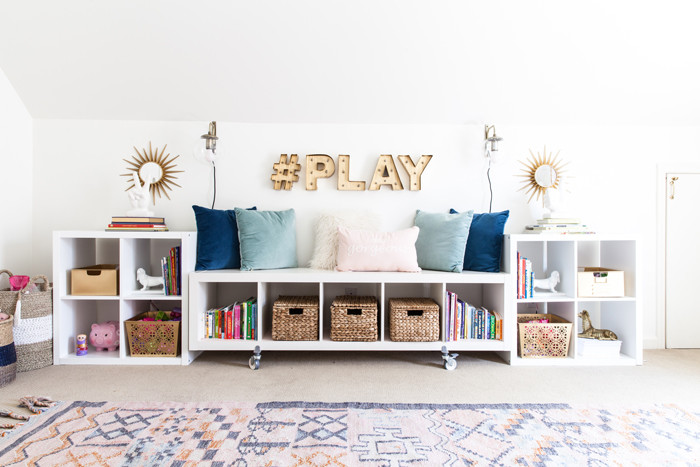 (source: styleyoursenses.com)
Of course, if you can find a place to build pull out drawers into your walls (which is highly unlikely unless you have a steep roof that leaves extra space behind the wall like Erin…), that would be something to take advantage of! No denying how amazing this is:
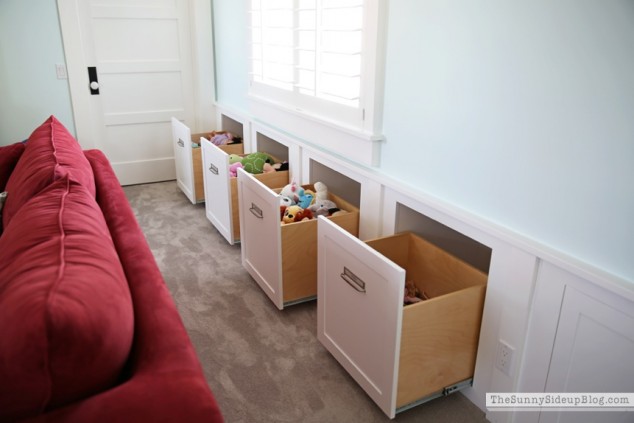 (source: thesunnysideupblog.com)
There are plenty of ways you can get started. Just don’t resign yourself to drowning in toys; you deserve some breathing room, mama!