Ah the dreaded thank you cards. My 3 year old and 1 year old had a birthday party almost two months ago… I still haven’t sent out thank you cards. Part of my problem is I feel like there should be some element that says my kids had a hand in saying the “thank you” – even though they clearly can’t write their own cards yet. How to do that tends to delay the process of me getting them written and sent out.
I finally decided that one way to do it would be to have my 3 year old stamp his name on each card, since writing on each one would be a real chore for him. We are practicing writing his name at the moment, but it would take him FOREVER to write his name that many times and momma ain’t got that kind of patience…
I saw this simple craft in Family Fun Magazine a long time ago and always wanted to try it out, but (as usual) hadn’t gotten around to it. So I figured this would be the perfect opportunity.
We finally got the stamps done. Now if I could just write out those thank you cards…
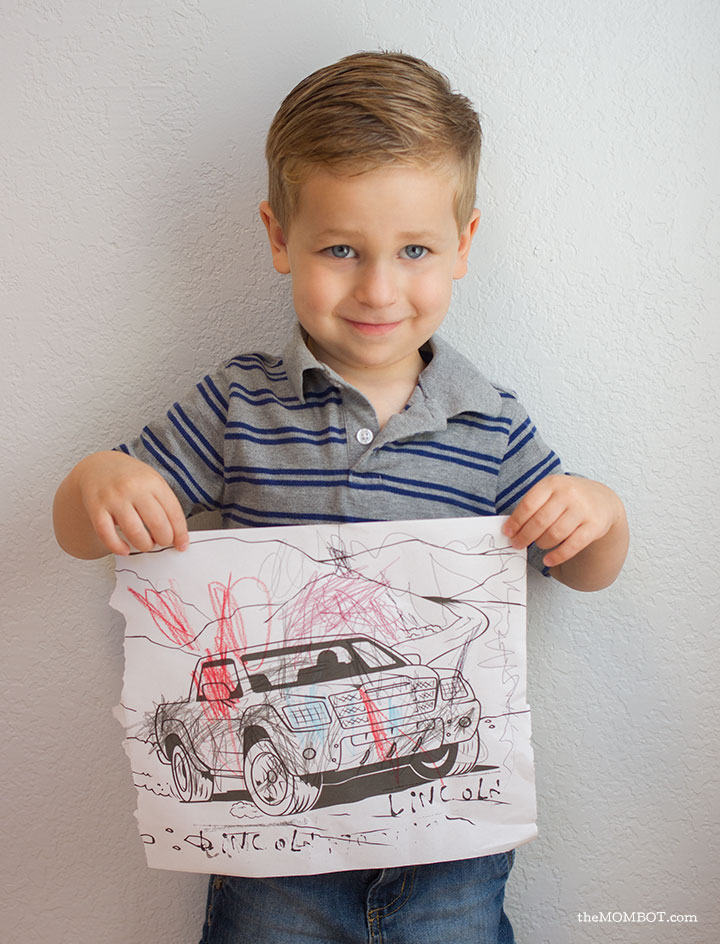
Here’s how you can easily make your own name stamps for your kids – mine love stamping their artwork and pictures they color!
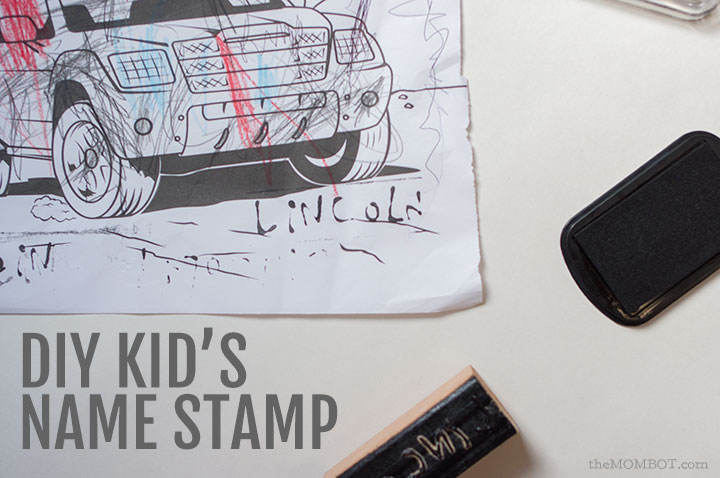
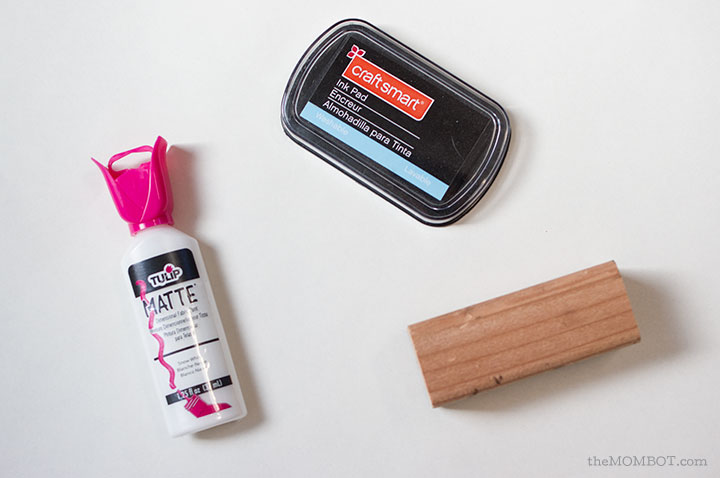
DIY name stamp for kids
Materials:
- Pencil (non-mechanical)
- Paper
- Wooden block (I used scrap wood we had in the garage)
- White dimensional fabric paint (or as the children of the 80s called it – “puffy paint”)
- Washable ink pad
Instructions:
- Cut a piece of paper about the same size as your wooden block.
- Have your child write their name on the paper. Use a good ol’ #2 pencil instead of a mechanical one – you want dark lines. If they write soft, you may want to trace over their writing a little darker.
- Turn the paper over on top of the block and hold in place while your child colors the back side of the paper with the pencil. Have them color the whole thing and press hard while doing so in order to transfer their writing on the opposite side. Once you remove the paper from the block, their name should have transferred. If necessary, you can trace over it with the pencil to make it more visible.
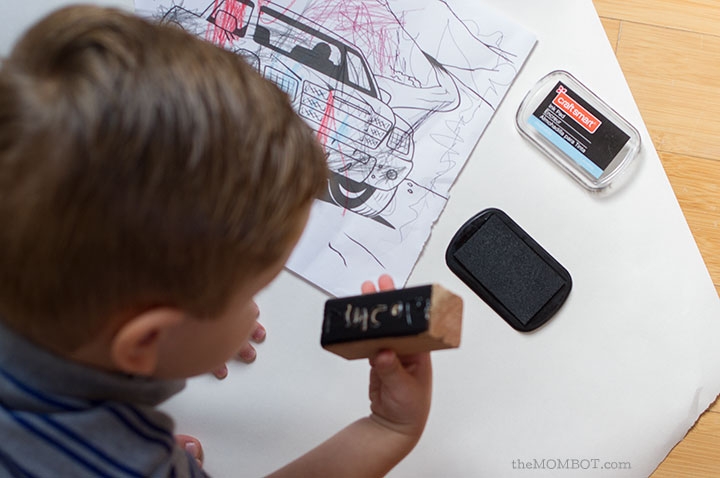
- Use the dimensional fabric paint to trace over their name on the wooden block. My 5 year old was able to do this on her own, but I did it for my 3 year old. The more paint you use, the better, so don’t skimp and make skinny lines.
- Gently tap the block on the table to remove any air bubbles from the paint.
- Let dry.
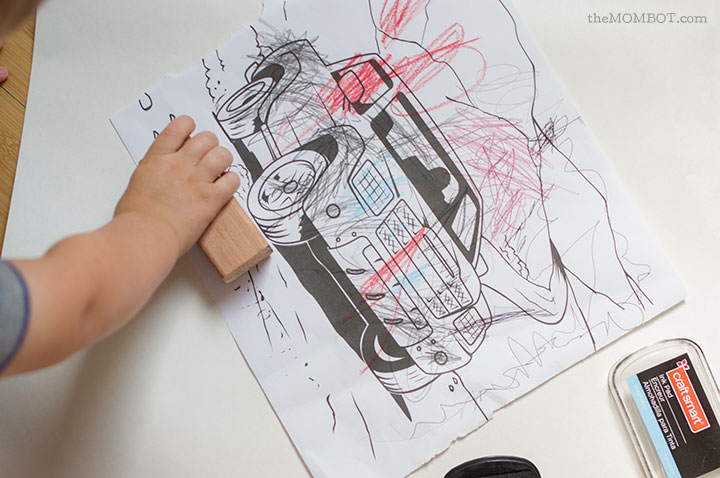
- Press stamp in a washable ink pad and get to stamping!
Tip: It works best if you put the paper you are stamping on top of a stack of newspapers for some cushion.